MANUS Core 2.3 | Settings
Note: This article applies to both Prime 3 Haptic XR Gloves and Prime 3 Mocap Gloves
Note: This article applies to both Quantum Mocap Metagloves and Quantum XR Metagloves.

General
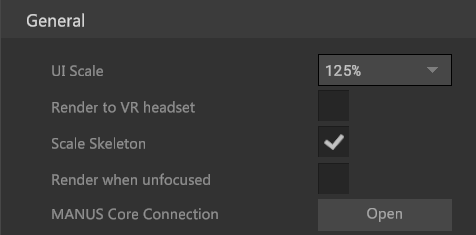
UI Scale
The Dashboard uses your Windows scaling settings to determine how large UI elements should be. If you want to adjust the size of interface elements independent of your Windows scaling, simply use the dropdown menu to select a different UI scale. Whether you are looking at the Dashboard on a large TV from far away in your mocap space or you’re sitting behind your desk, you can easily see and use the Dashboard.
Render to VR headset
If you want to visualize your gloves or Polygon in VR, make sure that this checkbox is on.
Scale Skeleton
Use the size adjustments made in the profile settings and apply them to the model from the scene view.
Render when unfocused
Switching this off will help lower CPU and GPU usage when using another application, minimising MANUS Core.
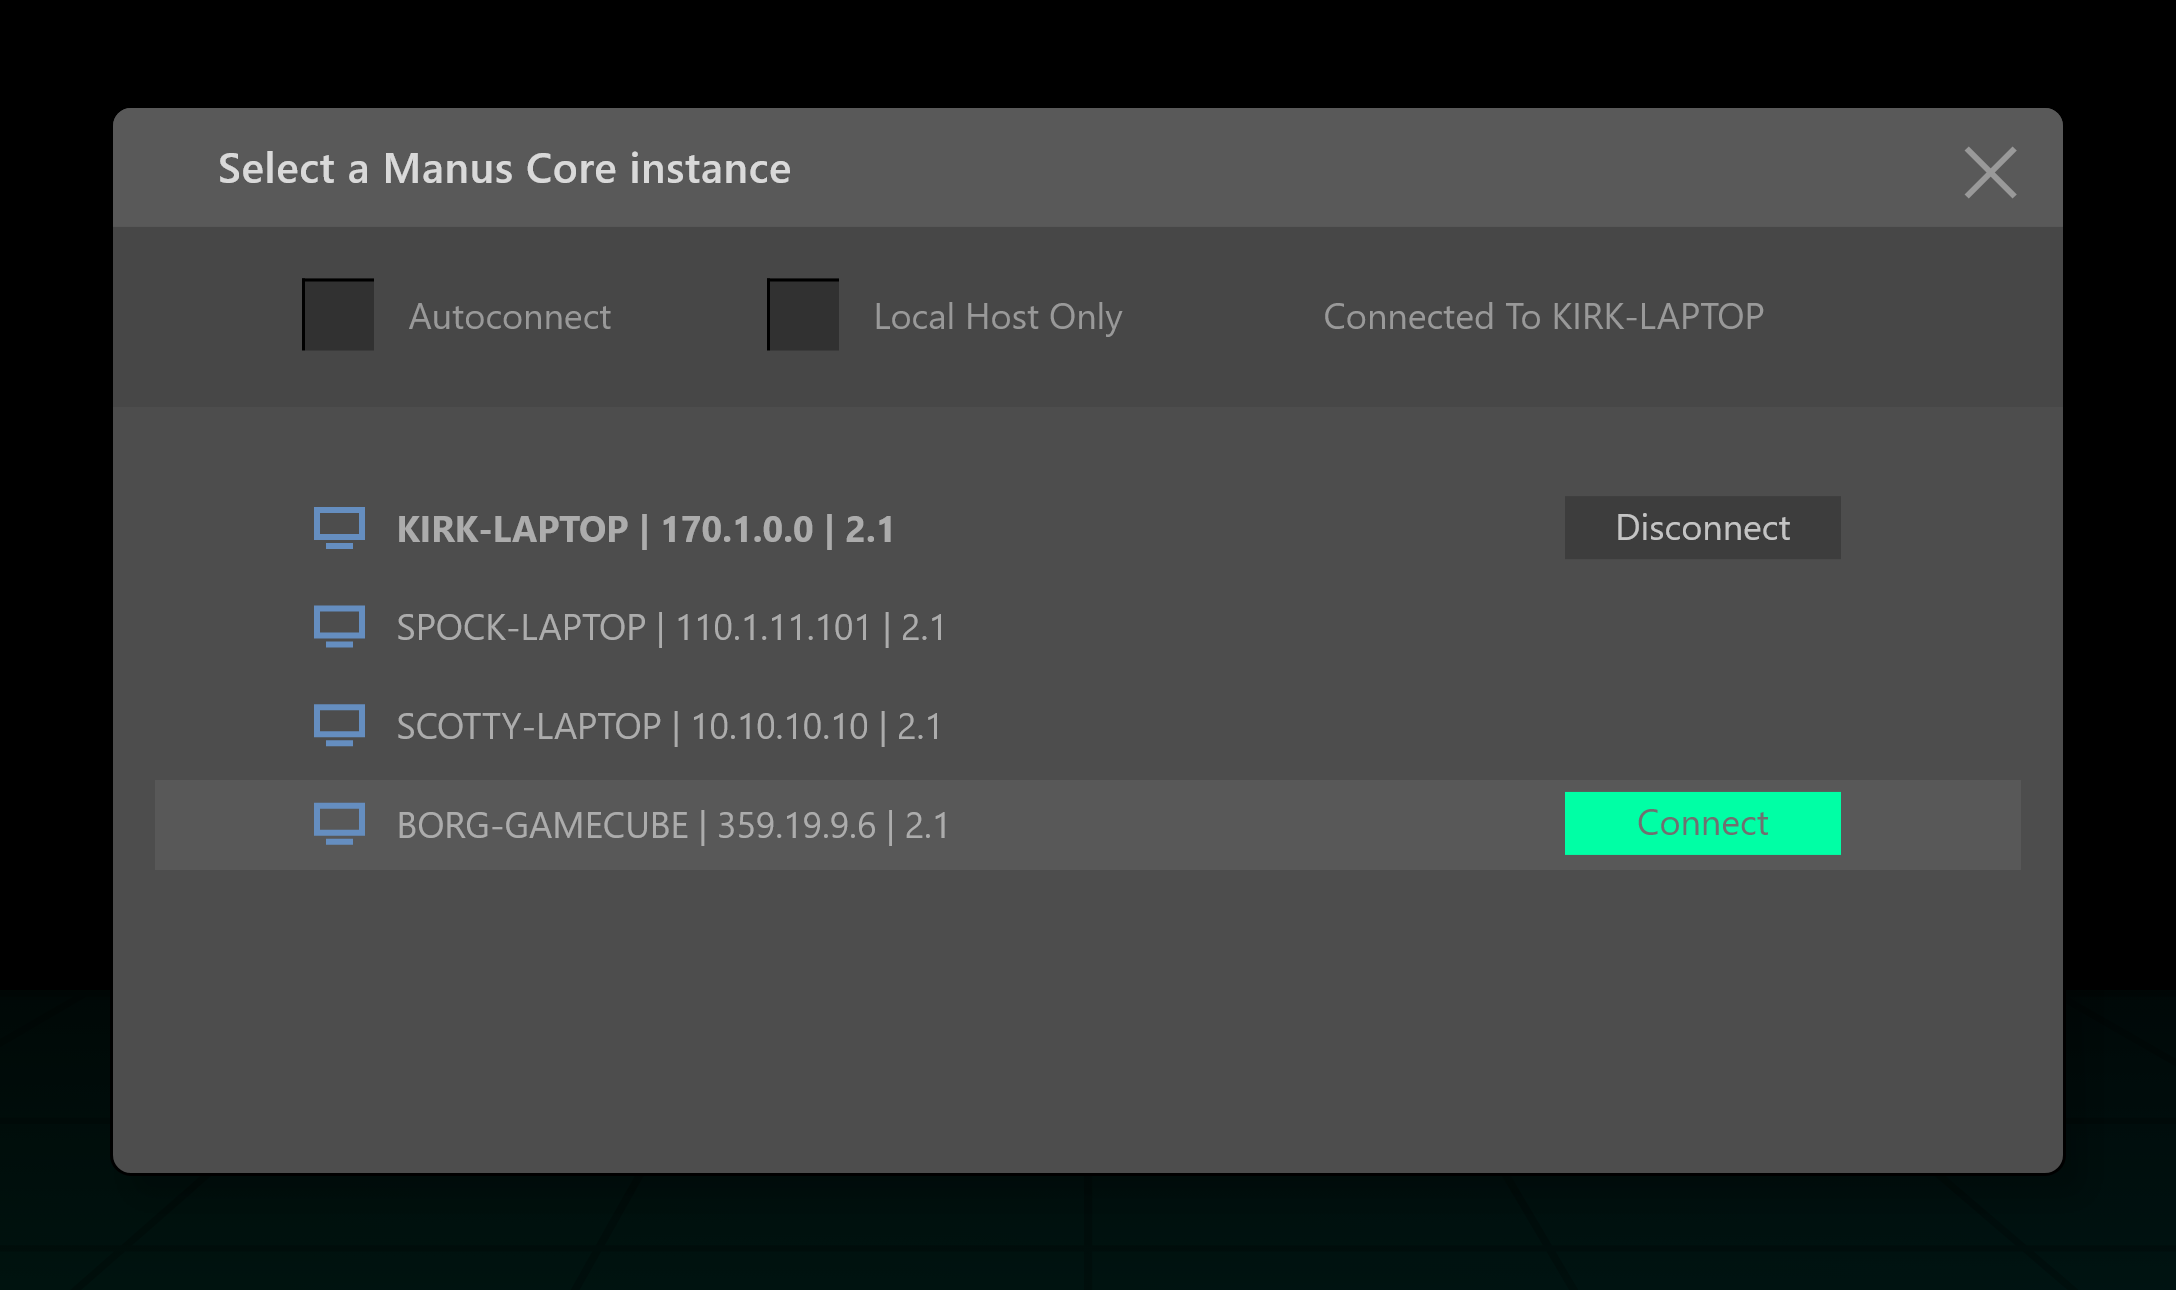
MANUS Core Connection
This opens a dialog where you can switch to another local or networked device running MANUS Core.
Hardware
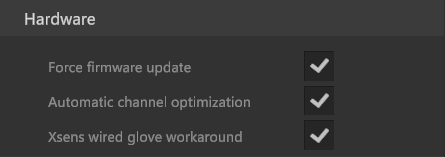
Force firmware update
In case your device got disconnected during firmware update and did not update correctly, you can go through the installation process again if you check this box on.
Automatic Channel Optimization
Each dongle automatically selects the best available wireless channel when you start MANUS Core. If you want your glove and dongle pairs to always use a specific wireless channel, for example when you're using many wireless devices at the same time, you can disable this automatic channel selection.
Xsens wired glove workaround
Will create a virtual dongle based off of the users and their glove assignments. Please refer to the Using wired gloves in MVN article for more information how to use this feature.
Glove
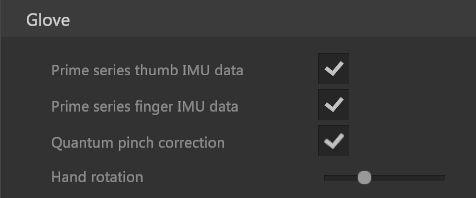
Prime Series Thumb and Finger IMU Data
The MANUS Prime II & X Series gloves use 2 kinds of sensors: orientation sensors and bend sensors. When you experience sensor drift, you can decide to disable the orientation sensors. With these settings, you can select to only use the bending sensor data.
Quantum Pinch Correction
This prioritizes finger endpoint position over accurate joint angles.
Hand Rotation
The hand orientation slider allows you to rotate the visualization of the digital hand in the Gloves Hand Viewer. With this setting you can make the finger articulation more visible when looking at your digital hand.
Tracking
Keep tracker position
This keeps the tracker in its last known position when tracking is lost.
Tracker timeout
If this option is on, the trackers that lose connection will disappear from the viewport. After the tracker timeout specified time.
Tracker timeout time
Sets the amount of time in seconds a tracker has to have lost tracking before it's removed.
Tracking System
ART
The ART tracking system can't be detected by the system, so this manual toggle allows you to select it when using.
Updates per second
This sets the amount of captured samples per second for the tracking system.
Port
This sets the port through which communication with the tracking system is handled.
Networked Devices
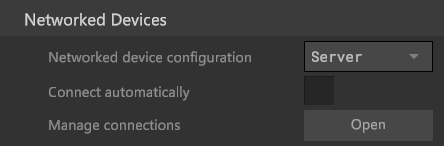
Networked device configuration
MANUS Core has the ability to merge glove data from multiple MANUS Core sources. The main Core instance is configured as a Server and the Core instances that have the gloves connected are configured as Client. Please refer to the Networked Devices article on how to use this feature.
Connect automatically
If MANUS Core is configured as Server and Connect automatically is enabled, any MANUS Core instances on the network configured as Client will be automatically added to the Server.
Manage connections
This will open a connection dialog allowing you to manually connect and disconnect MANUS Core instances on the network configured as Client.
Recording
MANUS Core has triggered recording functionality for the following software packages:
- Rokoko Studio
- Optitrack Motive:Body
- PeelCapture
- Qualisys QTM
- Vicon Shogun Live
- Xsens MVN
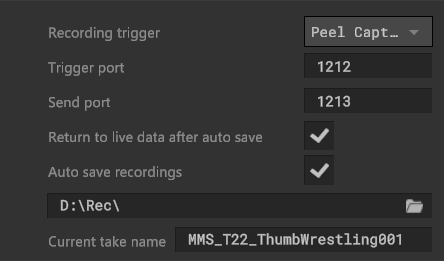
Recording Trigger
This dropdown allows you to select which UDP trigger you want to enable. Remote triggering will be disabled if the setting is set to None.
Rokoko
Trigger: Enabled remote trigger of a MANUS Core recording when a capture is started in Rokoko Studio.
Trigger Port: For Rokoko Studio you will need to enable the remote trigger functionality inside Rokoko Studio. The default port is 14048.
Motive
Trigger: Enables remote triggering of a MANUS Core recording when a capture is started in OptiTrack Motive. Please refer to OptiTrack Motive's documentation on how to setup remote triggering in Motive.
Trigger Port: For Motive you will need to enable the Remote Trigger functionality inside Motive.
Then in the MANUS Dashboard enable the Motive trigger and set the port 2 higher than your command port.
By default, this means your trigger port number will be 1515.
PeelCapture
Trigger: If you are using PeelCapture software and you want your MANUS Core recording to start simultaneously, make sure this checkbox is on.
You will also needs the PeelCapture Plugin for MANUS Core 2.3.0. You can download this from our download center. Please refer to the PeelCapture Installation article for more information.
Trigger Port: Here you can set the PeelCapture port (Port in PeelCapture plugin). The default is 1212.
Send Port: Here you set the PeelCapture send port (Listen Port in PeelCapture). The default is 1213.
Qualisys
Trigger: Enables remote triggering of a MANUS Core recording when capturing in Qualysis QTM.
Port: Qualysis QTM remote triggering port. By default, your trigger port number will be 8989.
Vicon
Trigger: Enables remote triggering of a MANUS Core recording when capturing in Vicon Shogun. Please refer to Vicon Shogun's documentation on how to enable remote triggering in Vicon Shogun.
Trigger Port:: For Shogun you will need to enable the Triggered Capture functionality inside Shogun.
You can set your trigger port to a specific number, by default it is set to port 30.
Then in the MANUS Dashboard also enable the Vicon Shogun trigger and set the port to the same number as in Shogun.
Xsens
Trigger: Enabled remote trigger of a MANUS Core recording when a capture is started in MVN Animate.
Trigger Port: For MVN Animate you will need to enable the remote trigger functionality inside Rokoko Studio. The default port is 6004.
Trigger port
Specifies the port the recording trigger is received at.
Send port
Specifies the port through which MANUS Core's status is broadcasted (currently only applicable when using PeelCapture).
Return to live data after auto save
By default MANUS Core will load the recorded data after recording is concluded. This will not do that and go back to live data if the data is automatically saved.
Auto save recording
This will automatically save an .mrec file after every recording you make.
Current take name
Specifies the name of the to be recorded take. The name will automatically increment. When a recording trigger specifies the save directory and take name this will be ignored.
Timecode
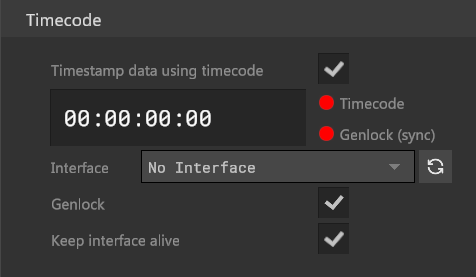
Timestamp data using timecode
This will use the timecode provided time to timestamp the data. This applies to both recordings and data streamed out to plugins.
Interface
Select the input audio-interface your LTC and Sync/Genlock signal is being sent to. Generally this will be a line-in interface. The left channel will be the Sync/Genlock signal and the right the LTC signal. The button on the right reloads all currently available audio-interfaces.
LTC Channel
This specifies the audio interface channel which carries the timecode (LTC) signal. MANUS's provided timecode cable carries LTC over the Right channel and is therefore the default setting.
Framerate -0.1%
When using non-integer timecode framerates like 29.97 and 23.976. Check this setting to aid in framerate detection.
Genlock
Allows you to specify if a Sync/Genlock pulse signal is used. This signal should be sent to the left channel of the above specified interface.
Keep interface alive
Keeps the interface available even when the audio signal is lost or the cable is removed / replugged.
About MANUS Core
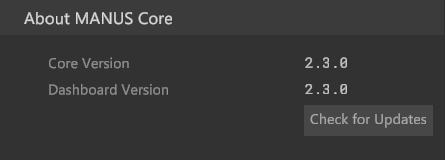
In this panel you can see which version of MANUS Core and its Dashboard you are currently using.
You can also check for software updates from here.