Plugins | MANUS Core 2.0 SDK | Client
Note: This article applies to both Prime 3 Haptic XR Gloves and Prime 3 Mocap Gloves
Note: This article applies to both Quantum Mocap Metagloves and Quantum XR Metagloves.
Introduction
This document will describe the more important functions of the SDK client and where needed go into detail about the code behind the function. It will however not describe the complete program layout as it is not representative of a normal client program using the SDK, nor always compatible with different program architectures. In fact, it is written to showcase the functions instead of being the optimal way of using those functions.
Due to this there is no graphical UI beyond the simple console output as that would require more complexity that may obfuscate the SDK usage and will most likely differ anyway in other clients.
The inner functions of the SDK are outside of the scope of this document and this client will only be used to showcase how to use the SDK.
What you will find in this document, are the most common functions to setup a skeleton, handle haptic feedback, setup temporary skeleton, handle trackers and handle time tracking.
If you want a simple quick start guide for the basics required to get data, the SDK minimal client quick start guide maybe a better choice, but for more in depth details look into this documentation.
Starting the client in a network
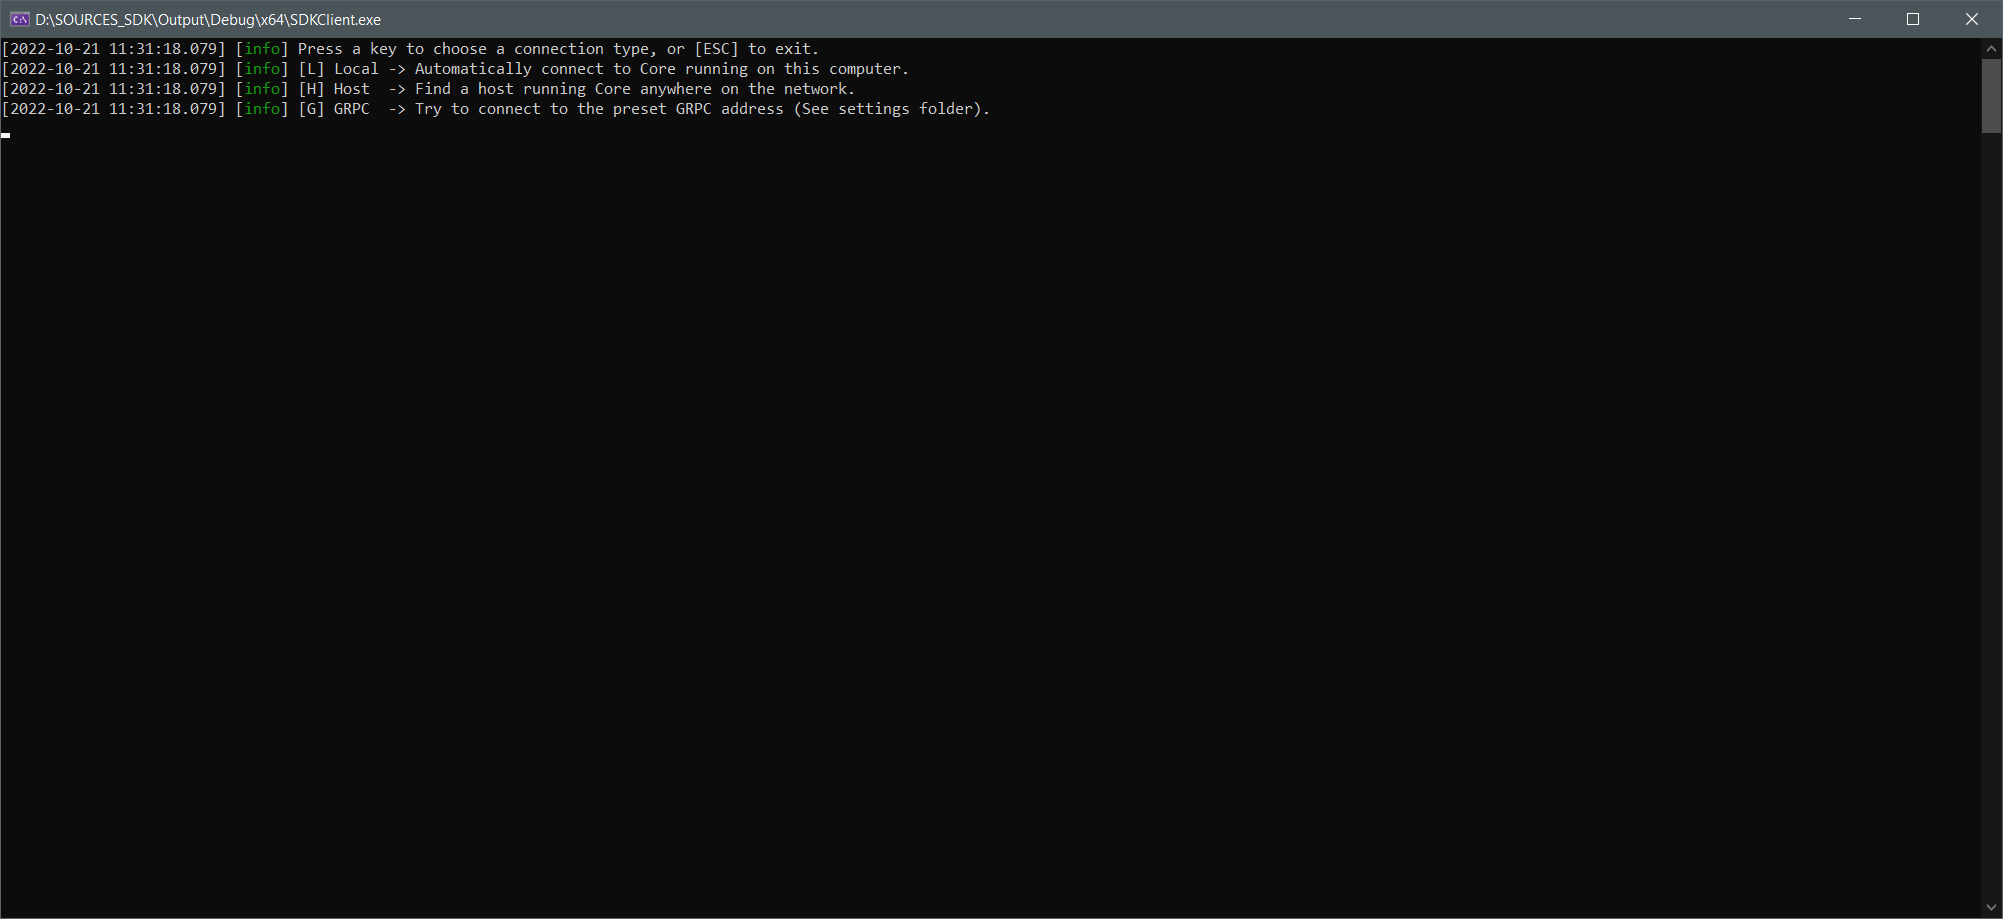
You have several options, but in most cases, you will have your MANUS core running on your local host. Selecting local by typing ’L’ will connect you locally. If you have high network security that may block certain connections, this may be your first check to see if MANUS connections are blocked or not.
If you connect via network or with presets, you will get submenus for those. But once a connection is setup. You will begreeted by the Main Menu screen.
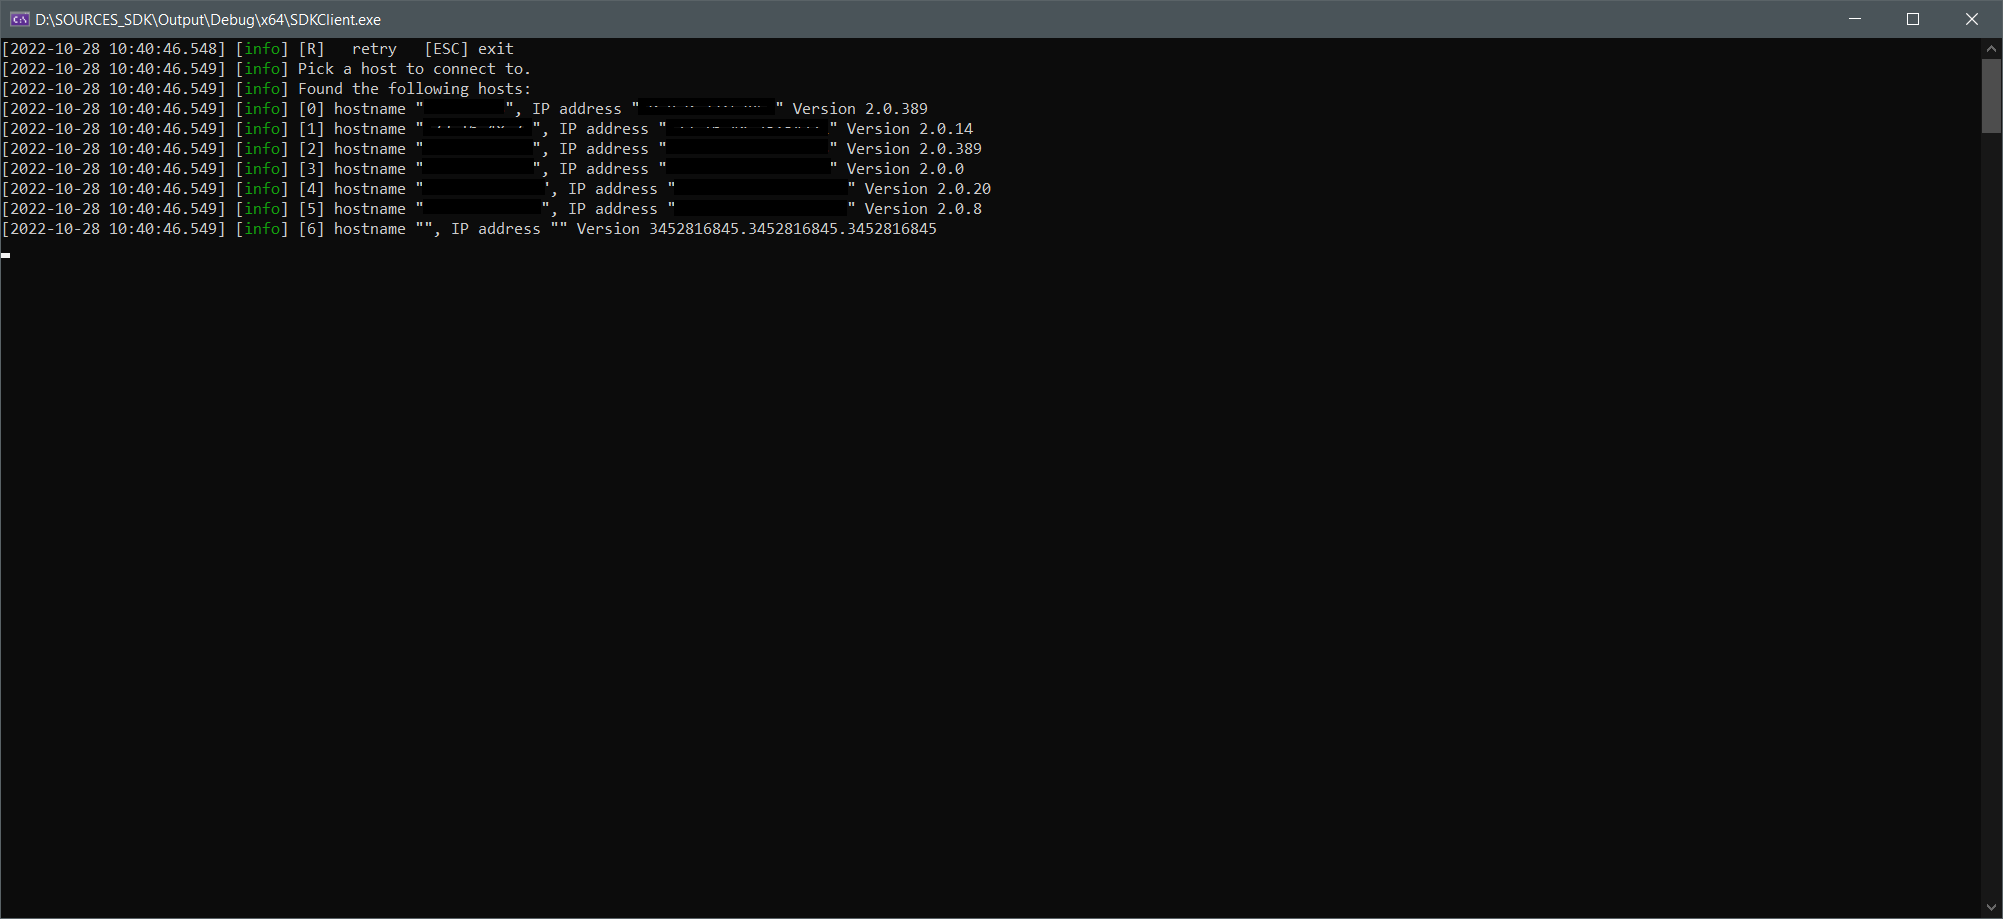
If you opt for a remote connection, select ’H’. It will now search the networks (it supports multiple network cards) for MANUS Core Hosts and will display a simple selection menu.
If you look at the code for finding hosts you will see the following:
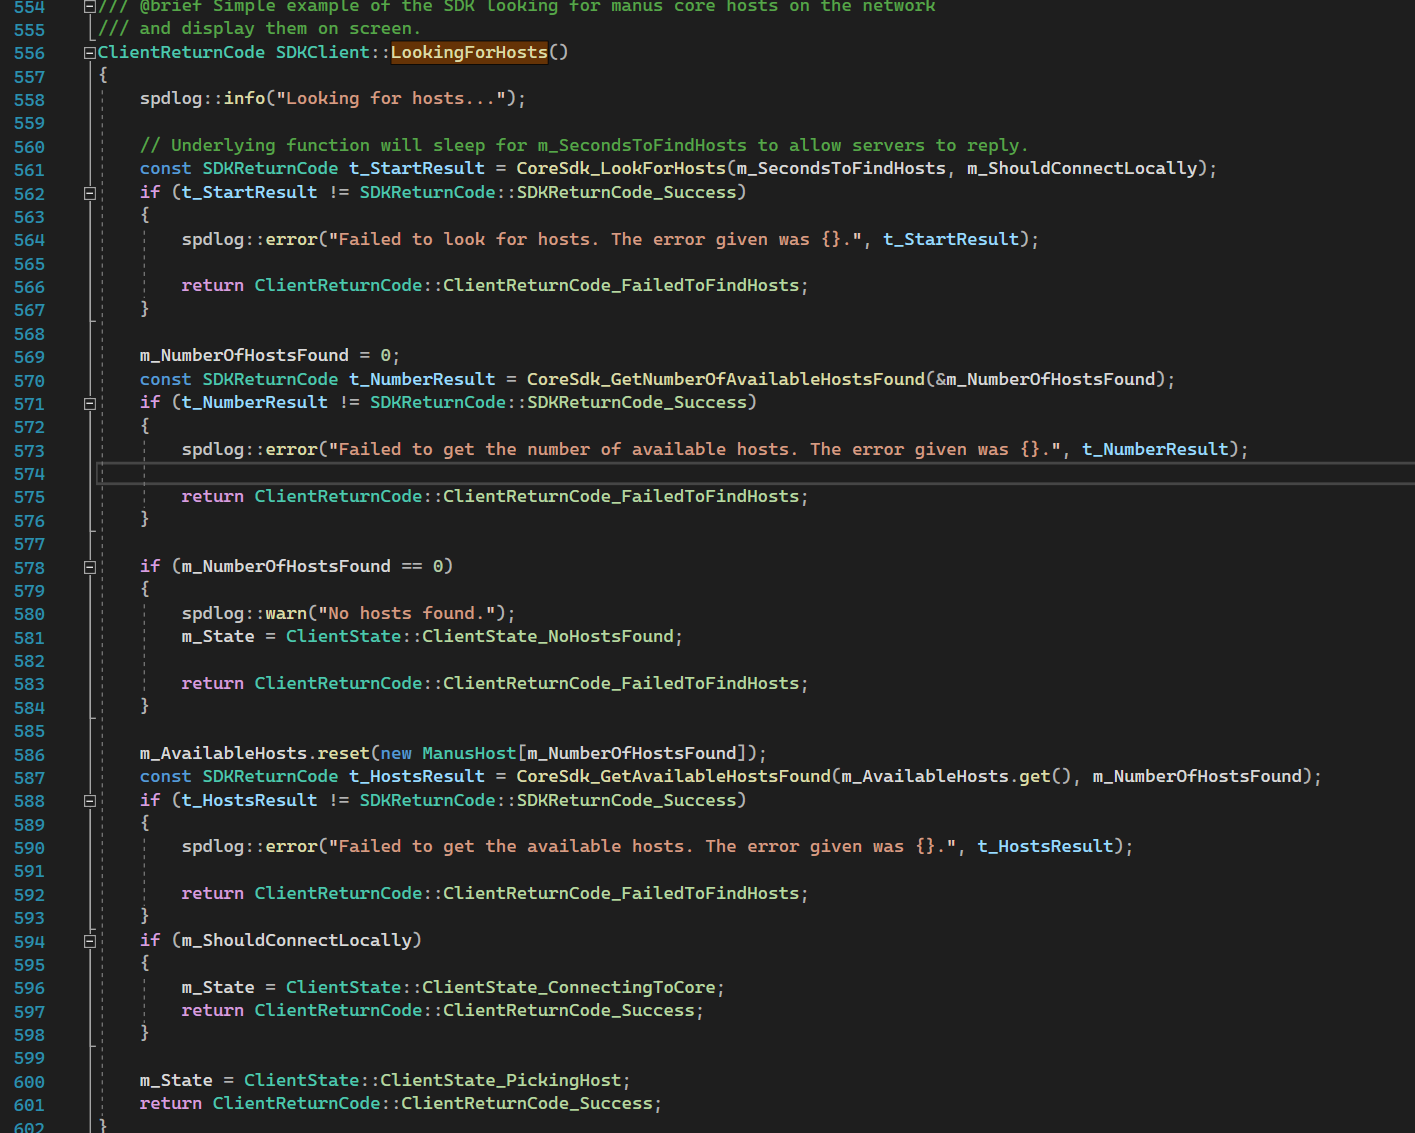
Before any connection can be made, the SDK must still register the available hosts by looking on the network.
It starts with CoreSdk_LookForHosts(). Thisis a blocking function and should only be used when there is no time sensitive actions being done. (so as not to disrupt the flow of the program UI )
After that is done CoreSdk_GetNumberOfAvailableHostsFound()is called. If it returns 0 hosts, either no MANUS host is available, or the network is being blocked.
Using the number of found hosts an array of hosts is setup and passed on to CoreSdk_GetAvailableHostsFound() and filled in with the found hosts.
Once the hosts are available the user can connect to them with:
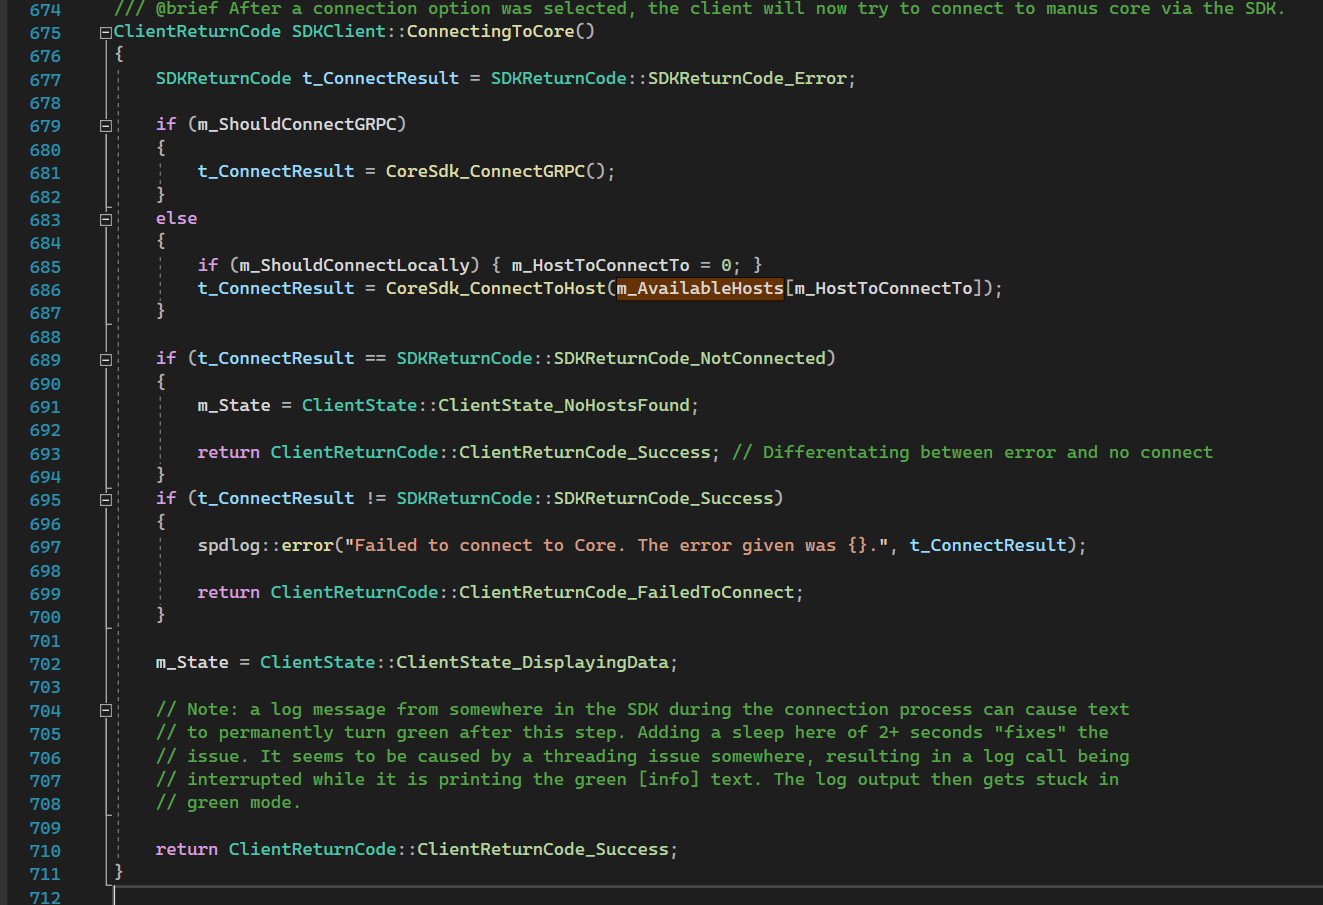
Essentially CoreSdk_ConnectToHost() is given the Host to connect to.
Once a connection is setup, the client proceeds to the main menu
Main menu
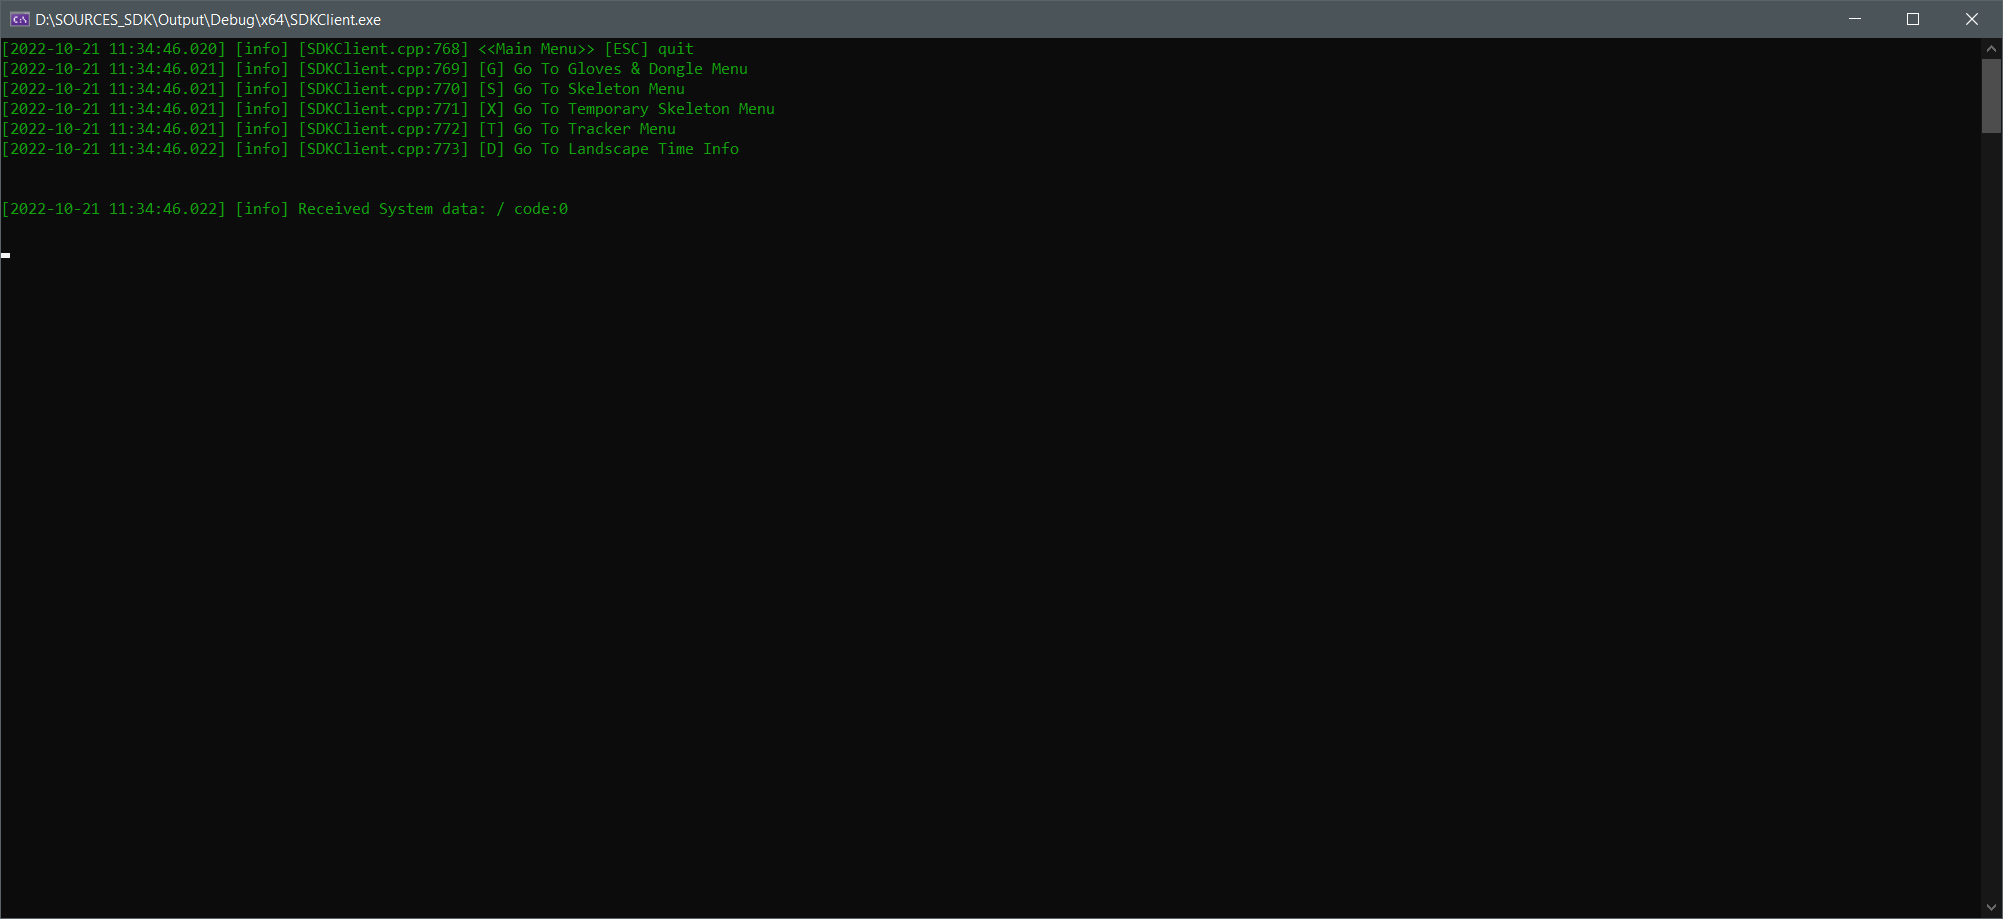
From here you can select different functions to test.
Gloves & Dongles
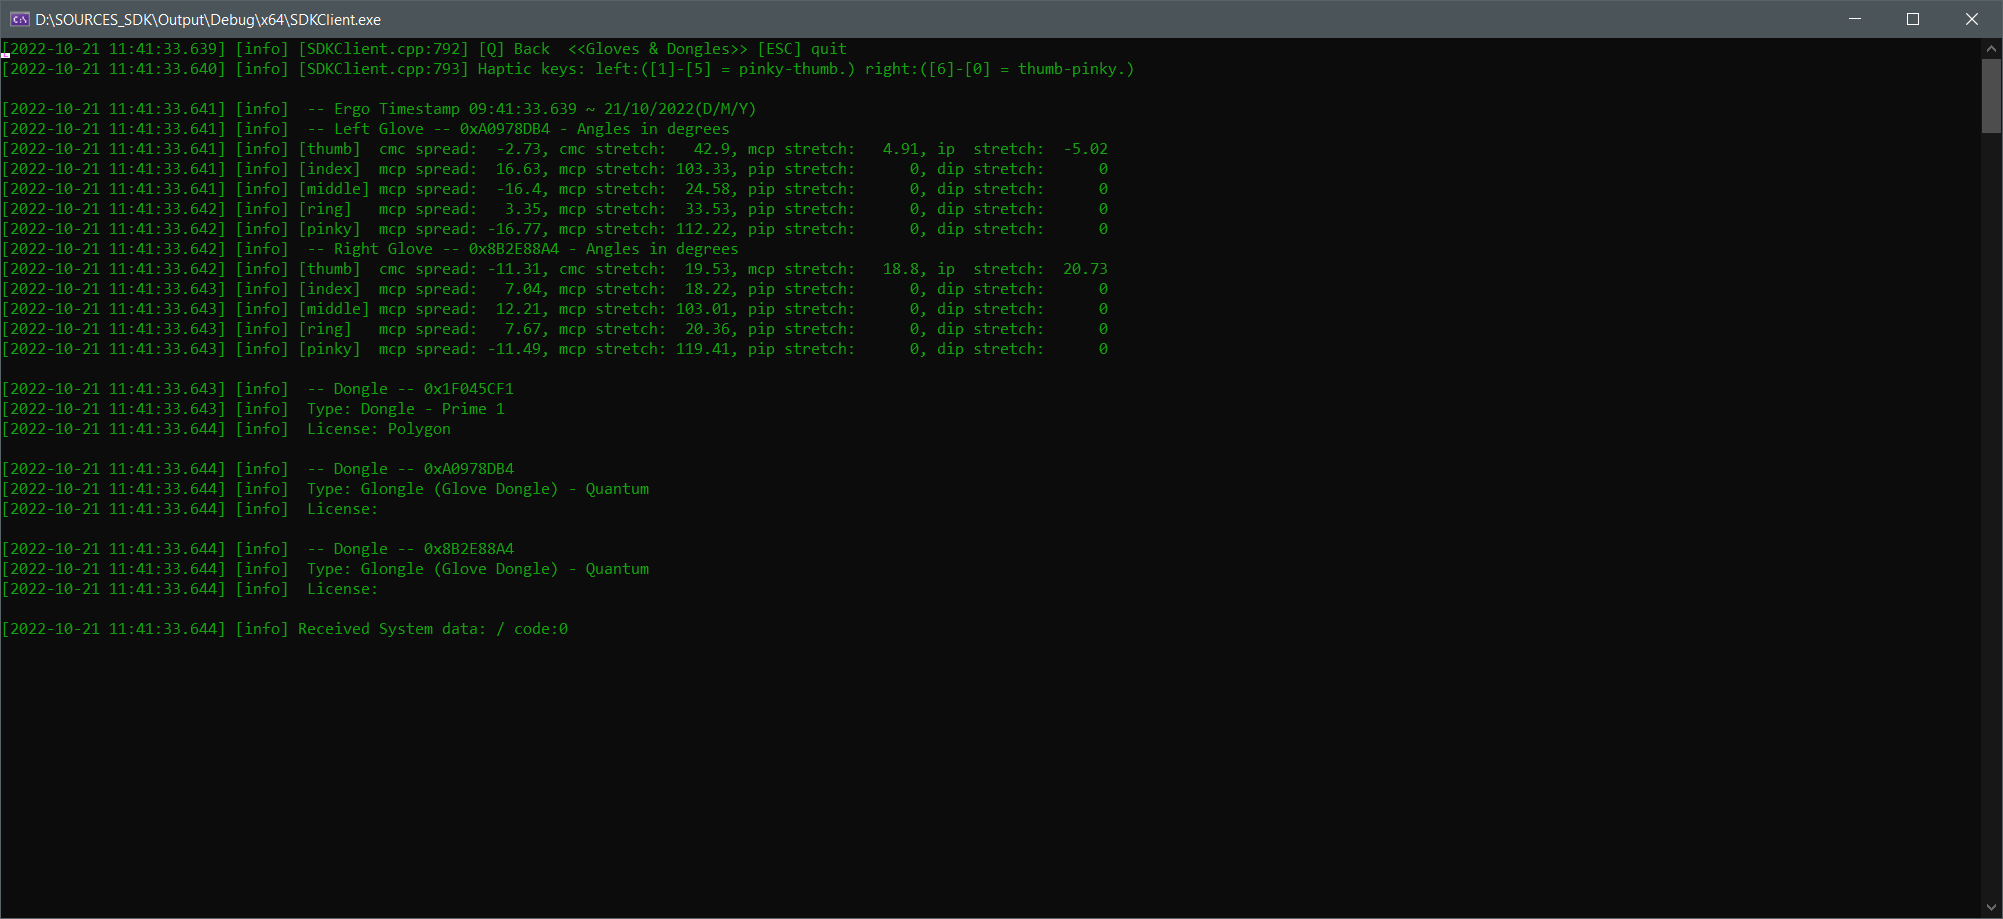
See also DisplayingDataGlove() for relevant code.
In this example 2 gloves were connected, and their ergonomics data shown with a timestamp. If the gloves are haptic enabled, you can use the number keys to trigger individual haptic actuators on the fingers.
It will also show a dongle if present and the license on that dongle.
The ergonomics data is retrieved via the ergonomics callback.
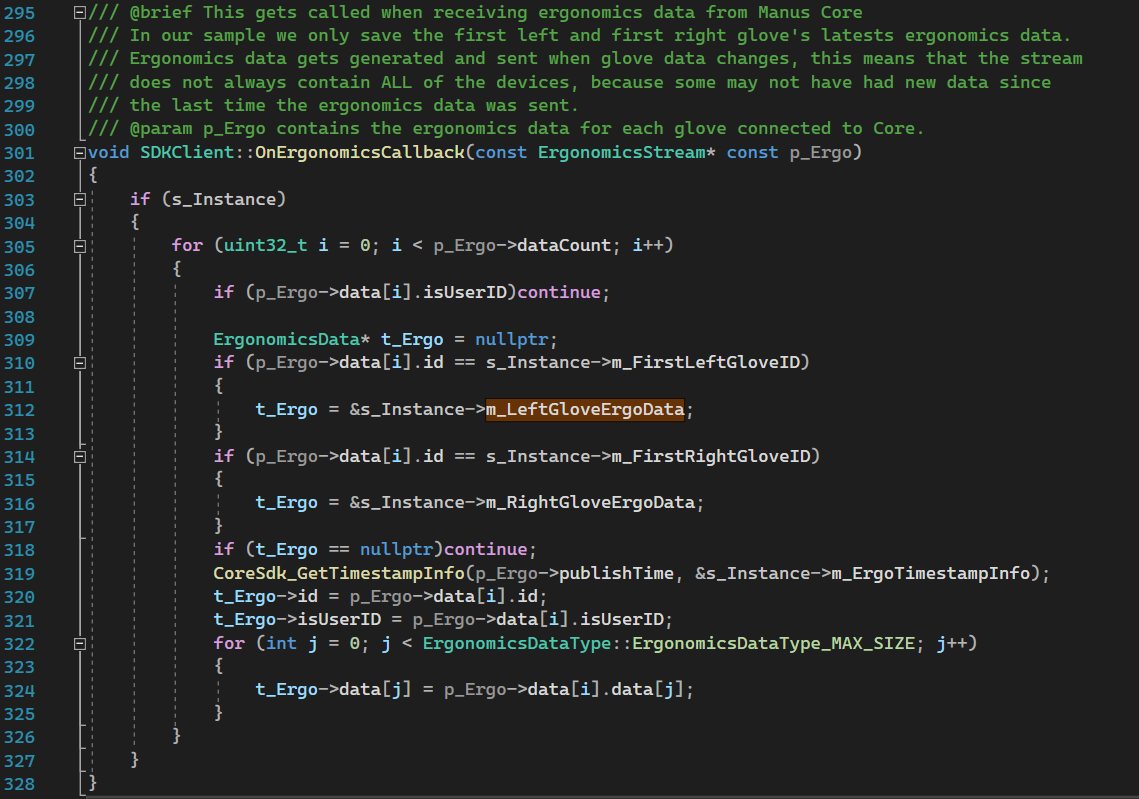
All the callbacks follow a similar theme, where the data is received, and then copied inside a mutex scope for thread safety.
In this case the client cheats a little, by just getting the first user’s glove id’s and checking if there is data forthat. It also gets the right timestamp for the ergonomics data withCoreSdk_GetTimestampInfo().
Skeleton
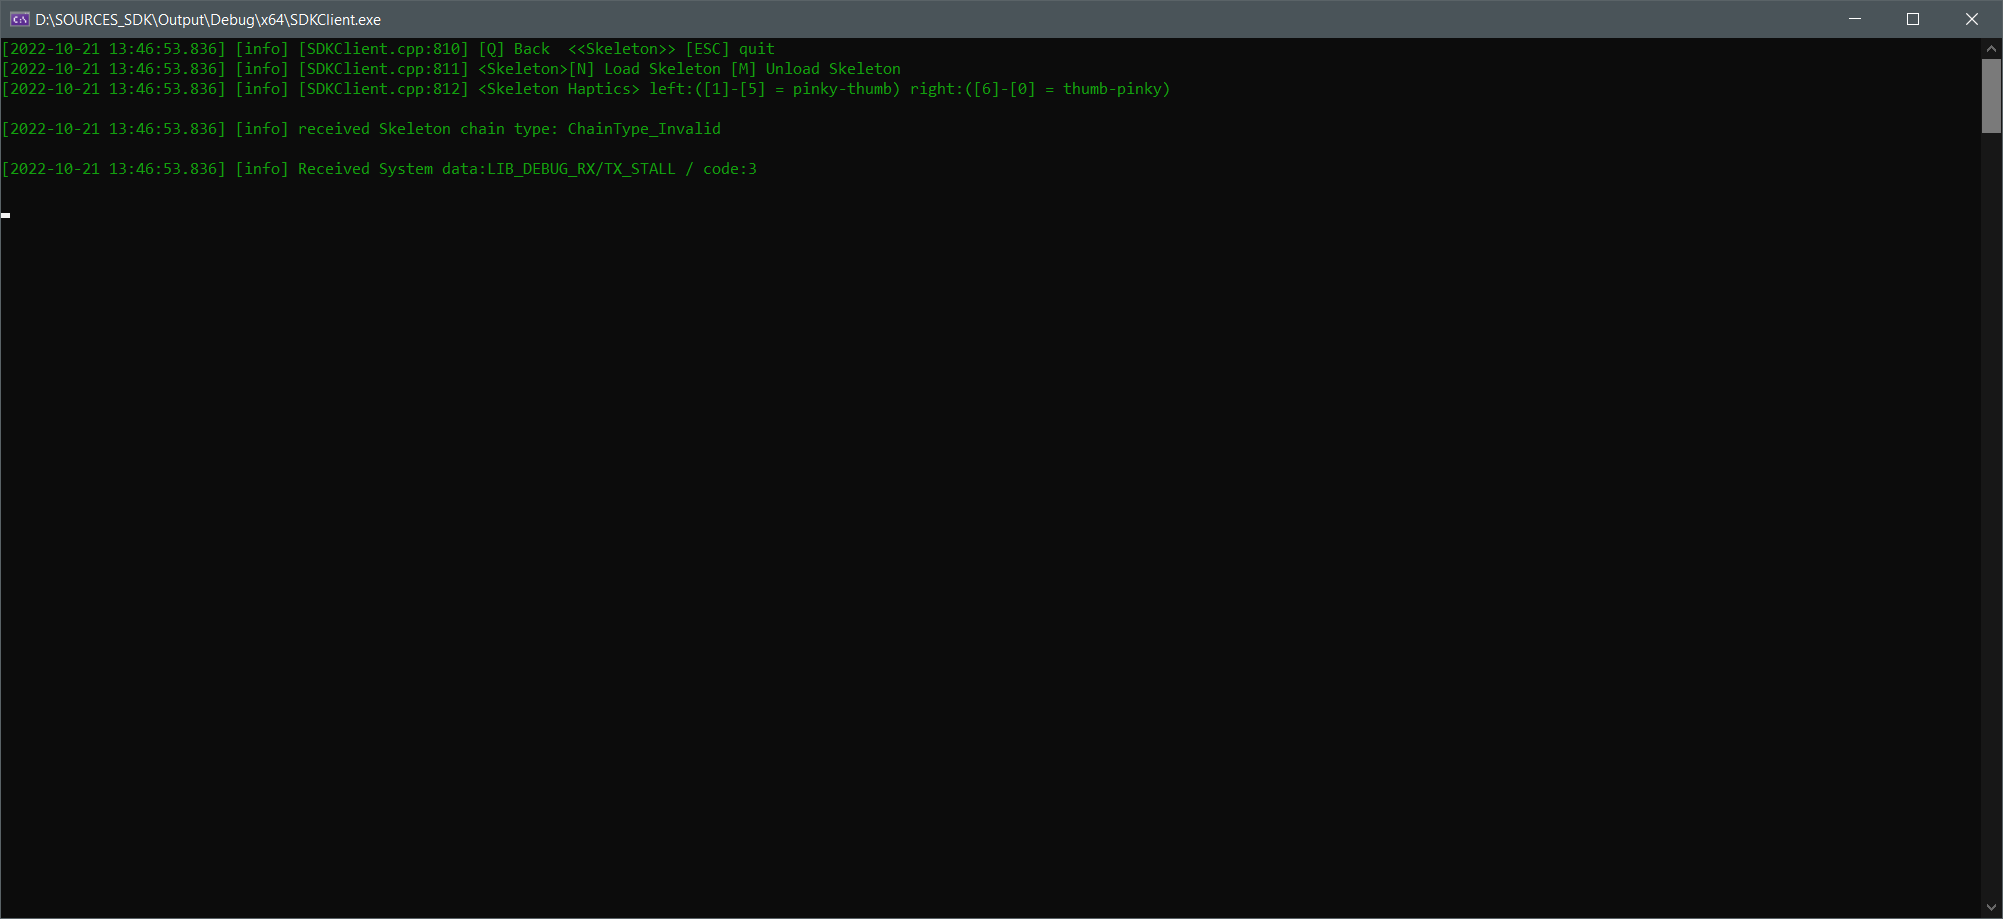
This menu shows 2 options. 1 is to load or unload a skeleton to MANUS core to verify everything is setup correctly in the skeleton.
And 1 is to activate haptics based on the skeleton id instead of a glove id.
When a user wants to have their skeletons animated, they need to set it up in a structure usable by Manus Core. This involves defining the type of skeleton, its nodes(bones) and chains(rigging).
This is shown in LoadTestSkeleton()
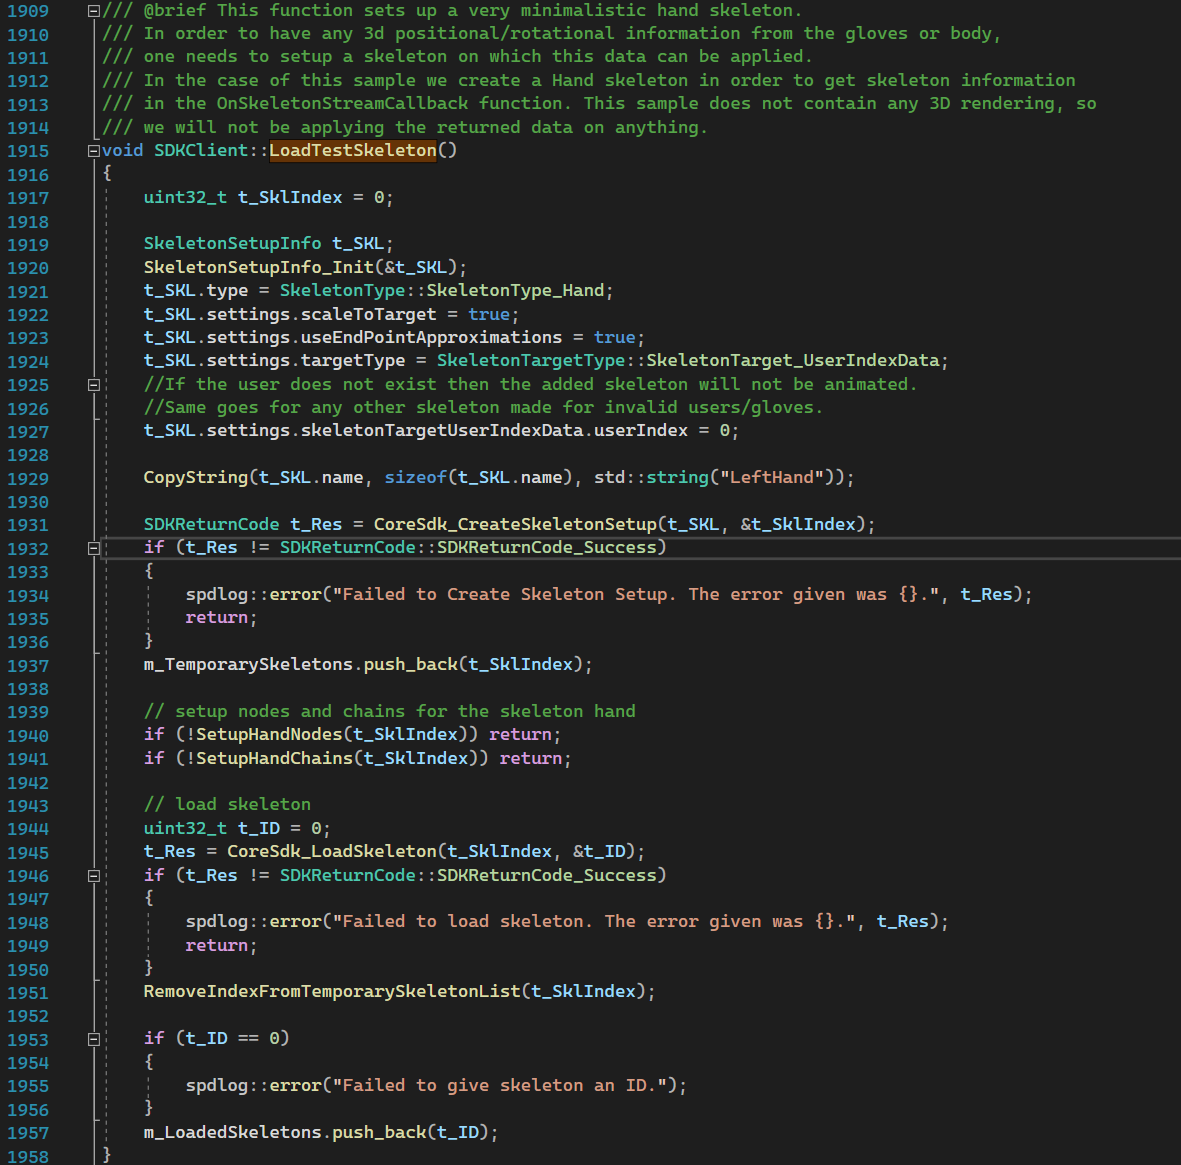
Setup a skeleton.
To setup a hand skeleton and make sure it animates correctly, the following steps are required:
- Setup a container for a skeleton
◦ Make it reference to a user
- Setup the hand nodes for the skeleton
- Setup the chain nodes for the skeleton
- And load it into MANUS core
The container of a skeleton is a Skeleton Setup Info structure.
It will contain all relevant data. To reference a user it sets its settings.targetype to SkeletonTarget_UserIndexData. This means it will look at the list of users currently active in MANUS core and based on the index it will select that user. If the user has no gloves assigned or doesn’t exist no data will be transferred though.
In this case settings.skeletonTargetUserIndexData.usedIndex is set to 0 , meaning that the first user in the list will be used.
For the skeleton type we set it toSkeletonType_Hand. This type of skeleton can be completely done with just 1glove. If it was part of a full body, then options for its wrist may becomemore important. For this example we just focus on 1 glove.
The hand nodes for a skeleton are based on a mocap hand and are just raw data of nodes with relative positions. However,we don’t define the metacarpals for this example as they don’t animate as much.
The vectors below are based on a hand lying flat on a surface.
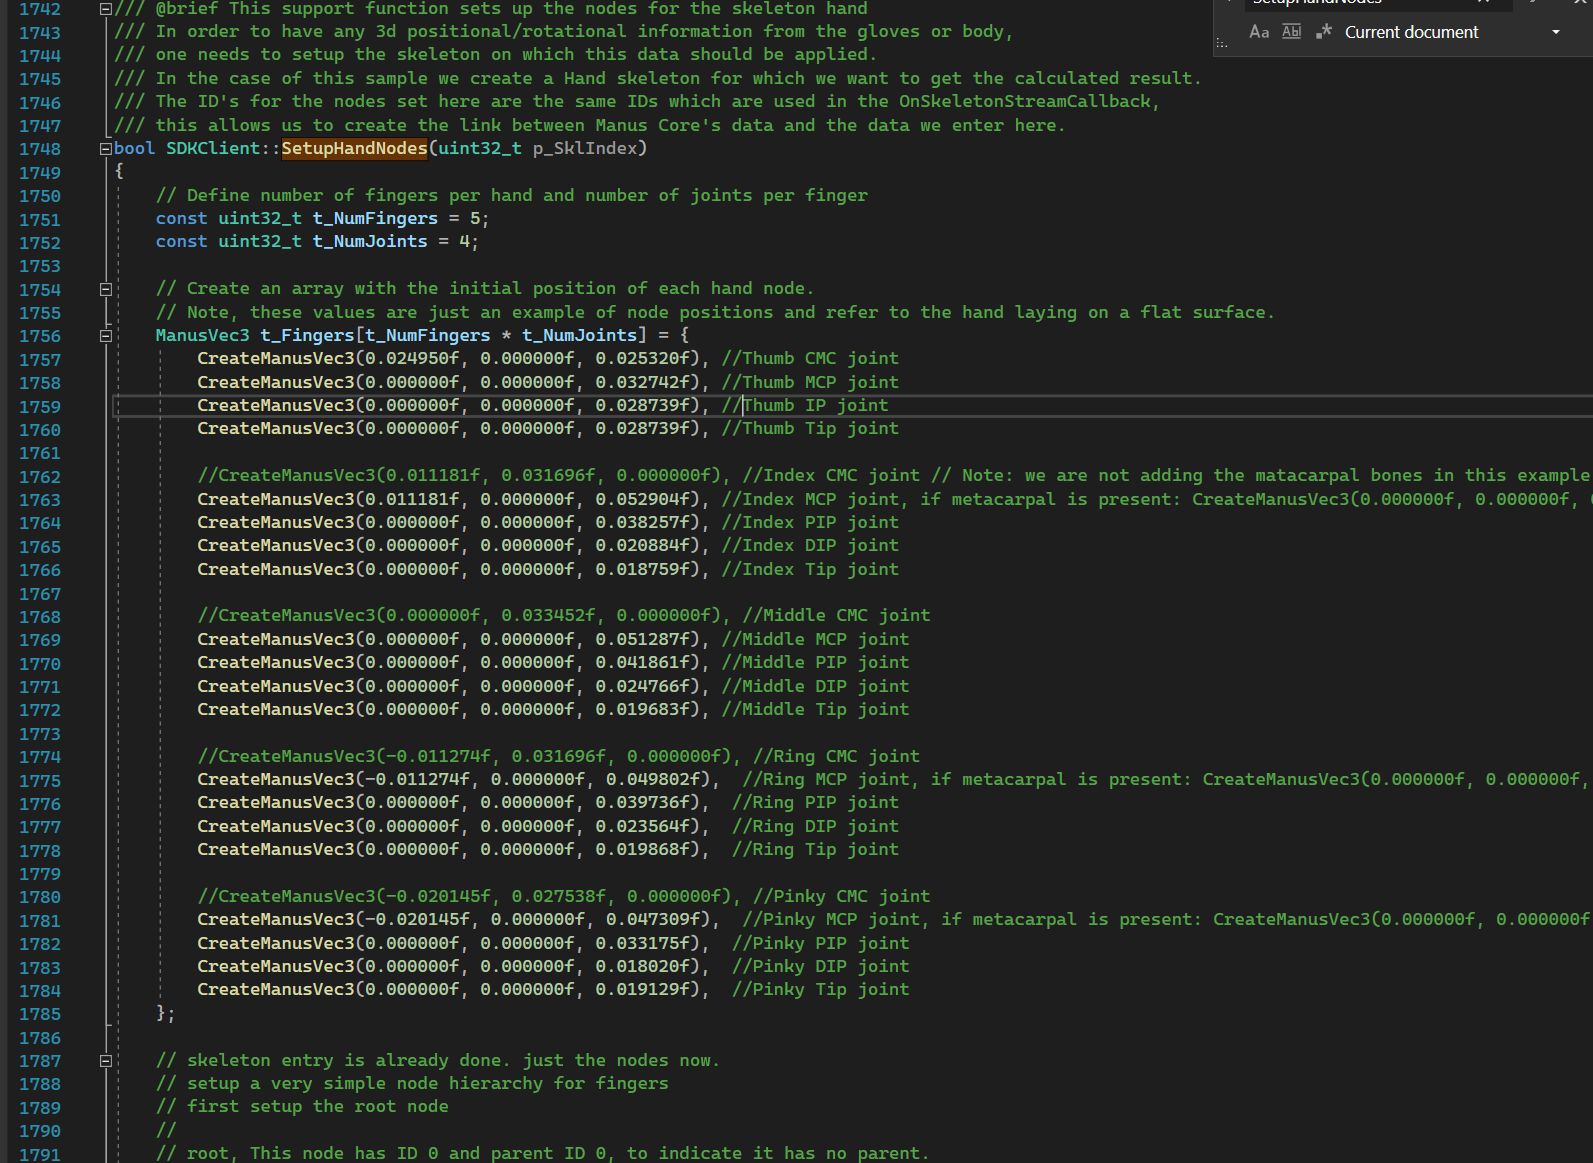
This will form 20 nodes that are then added to the skeleton setup with CoreSdk_AddNodeToSkeletonSetup().
A root node is added to define the start of the hand which starts at the 0 vector and then all the fingers and their joint nodes are added.
To setup hand chains, we effectively setup1 hand chain (ChainType_Hand) and 5 finger chains (ChainType_FingerIndex/ChainType_FingerMiddle/ etc) to describe the hand.
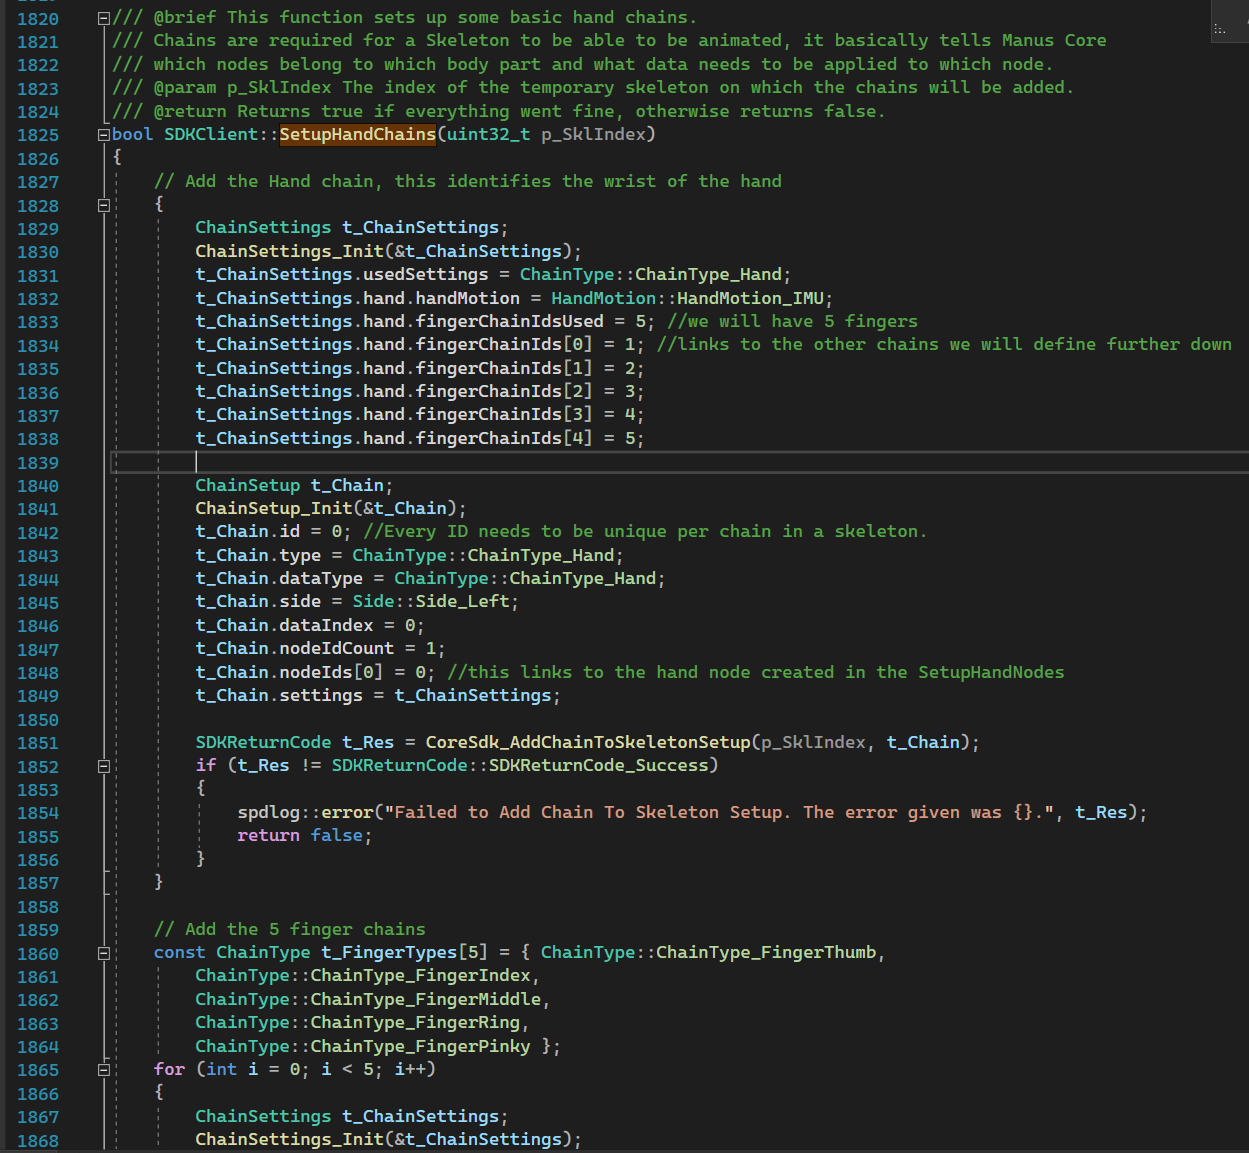
The hand chain is also the root chain where we setup that its motion is controlled by the glove wrist IMU by setting it to HandMotion_IMU.
And then add all the chain id’s of the finger chains that are about to be added.
All of the chains are setup for a lefthanded glove for this example.
Once all this is done, the data is sent to MANUS core via CoreSdk_LoadSkeleton(). This makes sure the skeleton is being animated and that the callback in the SDK Client will get updates.
Unload skeleton.
Since a user can swap out models to animate, they may also need to unload a skeleton to prevent resource leaks and performance drops.
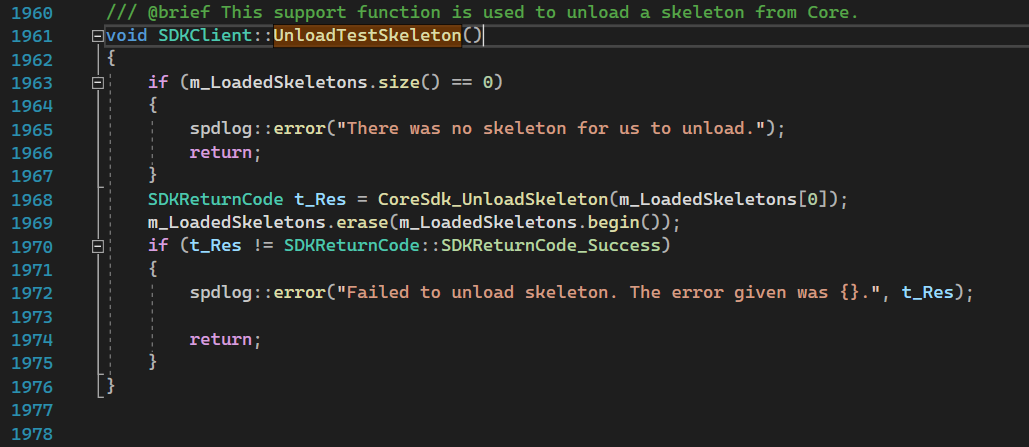
In this example, as long as there are skeletons loaded, we can unload a skeleton by calling CoreSdk_UnLoadSkeletonand passing the skeleton id.
When a client is closed, the session will be closed and MANUS core will automatically unload all skeletons.
This can also happen when a connection is lost (bad wifi), but you can then reupload the skeleton without problems.
Temporary skeleton
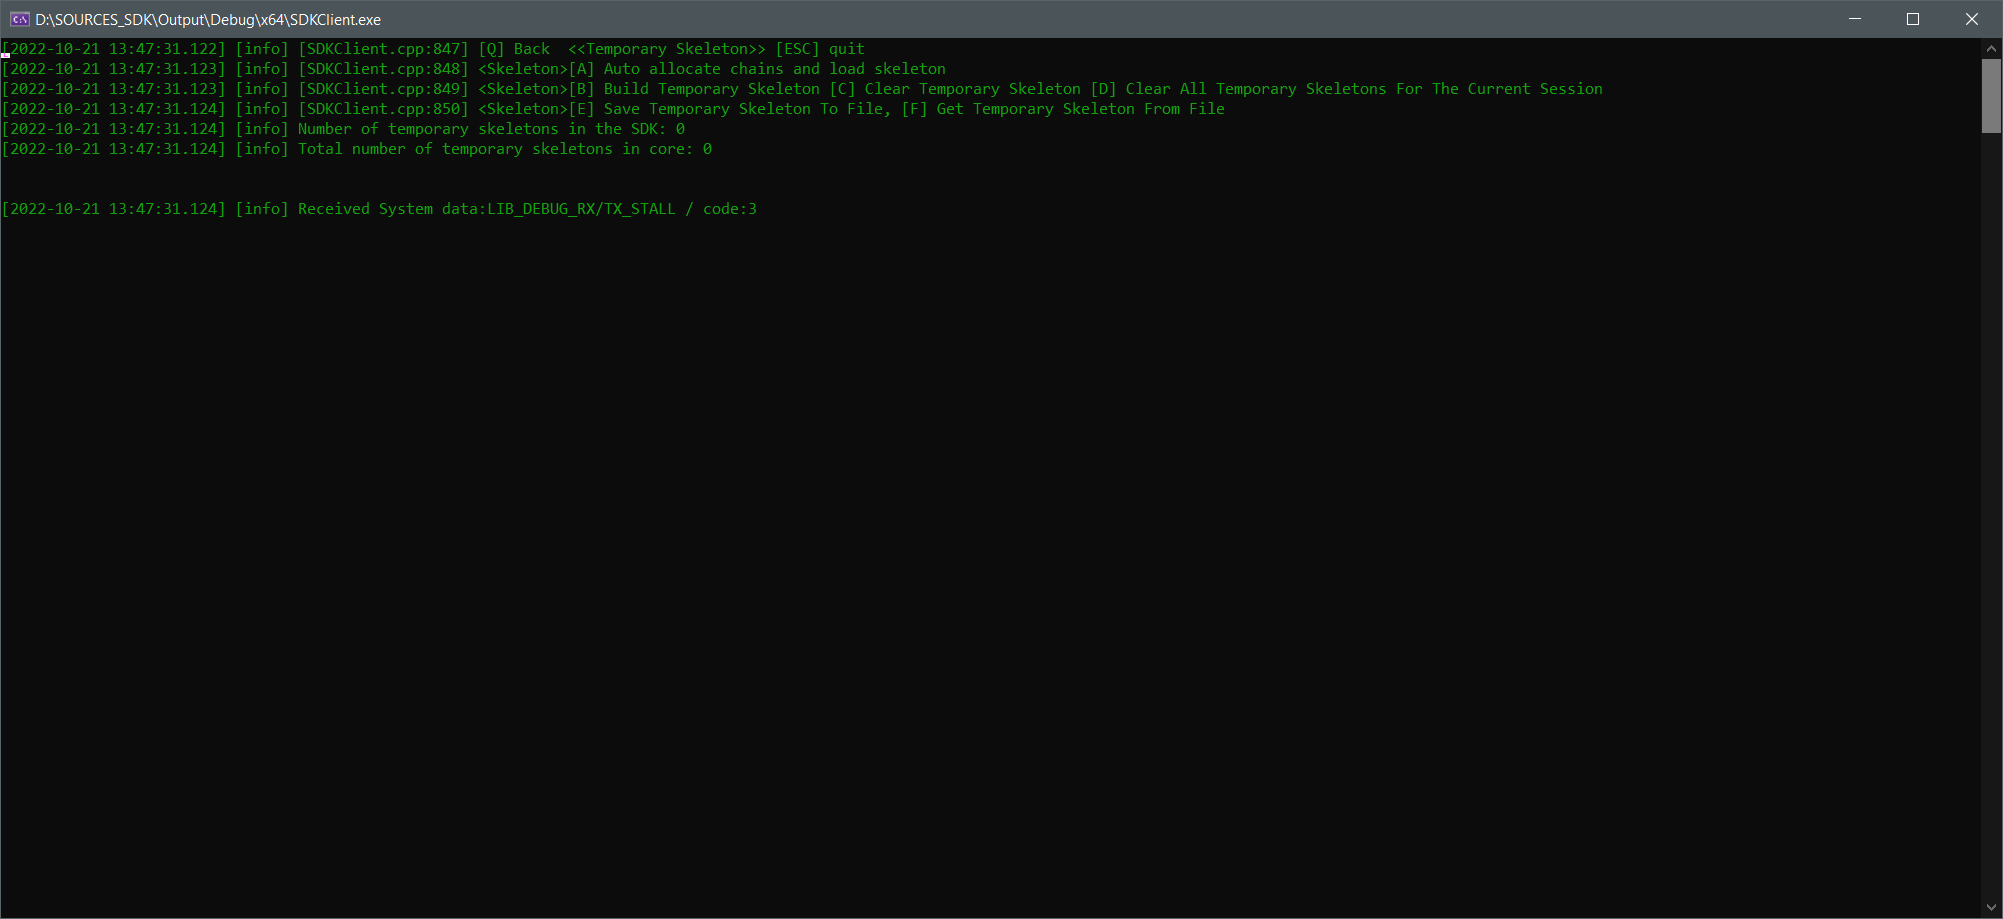
When a skeleton is still being rigged it cannot be animated fully yet, but it can be sent via Manus core to the Manus_Devtool for ease of rigging and verification. The Manus_Devtool will automatically start and load the temporary skeleton.
To do this a temporary skeleton can be set up, which is very similar to a regular skeleton, but chains are optional and will not result in animation data.
The Manus_Devtool can send an updated temporary skeleton back (depending on what the user did in the Manus_Devtool) which can be used to create a regular skeleton for animation.
You can see this in both the unreal and unity plugins, where this can be used to verify the animation.
As long as the temporary skeleton is not destroyed, it can be updated without problem by the Manus_Devtool. If a network connection with MANUS core is lost however. The temporary skeleton needs to be resent for the plugins to be able to work on it.
If the skeleton is well defined, you can also try to automatically allocate the chains, however this can have several issues, so it is not advised to do this outside the Manus_Devtool.
See BuldTemporarySkeleton() for example code of creating a temporary skeleton.
A temporary skeleton can also be transformed into a file and vice versa for ease of handling.
Once a temporary skeleton is fully rigged it can be used to build a regular skeleton.
Plugins like unreal or unity can also store the normal skeleton data in their assets, but that is combined with lots of plugin specific data.
There is also the option to save and load a temporary skeleton to and from a file.
These will be stored as an .mskl file and can also be used by both unreal and unity plugins.
The code examples can be found inSaveTemporarySkeletonFile()
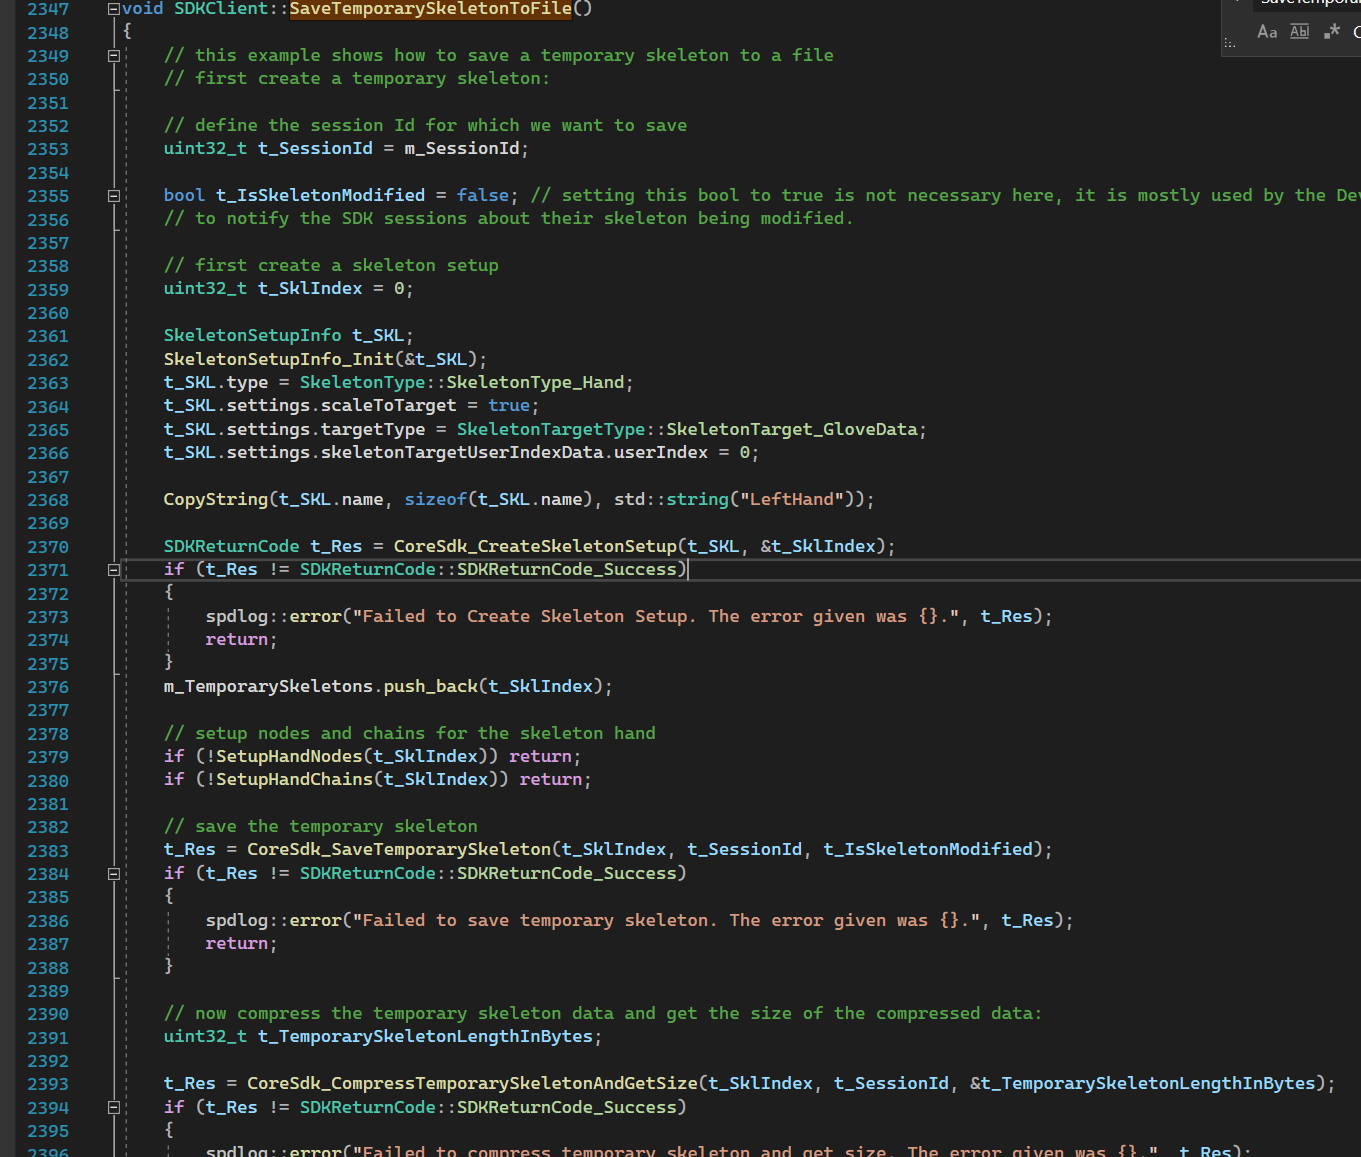
The example first sets up a temporary skeleton and saves it to Manus Core via CoreSdk_SaveTemporarySkeleton().
After that it can get the compressed temporary skeleton data size and data from CoreSdk_CompressTemporarySkeletonAndGetSize()and CoreSdk_GetCompressedTemporarySkeletonData().
Finally, it can save it to file like a normal byte array.
In the example the temporary skeleton is also cleared and removed, but this is only for testing purposes and not required.
For loading a temporary skeleton from a file it works pretty much in reverse.
The raw file is loaded and passed toCoreSdk_GetTemporarySkeletonFromCompressedData() after which a new temporary skeleton is created.
Tracker
Trackers can be setup with different Tracker systems, from ART to SteamVR(OpenVR) and can be used to setup a skeleton for the whole body. For this they have to be assigned to a user and configured to represent a limb or body part location. For more details on this, please check https://www.manus-meta.com/resources/knowledge-base.
However, getting the data for trackers can still be useful for props etc. Also The customer may want to add their own tracker system and be able to stream the tracker data back into MANUS core.
(for a more optimal way, please contact MANUS sales for support of a new tracker system)
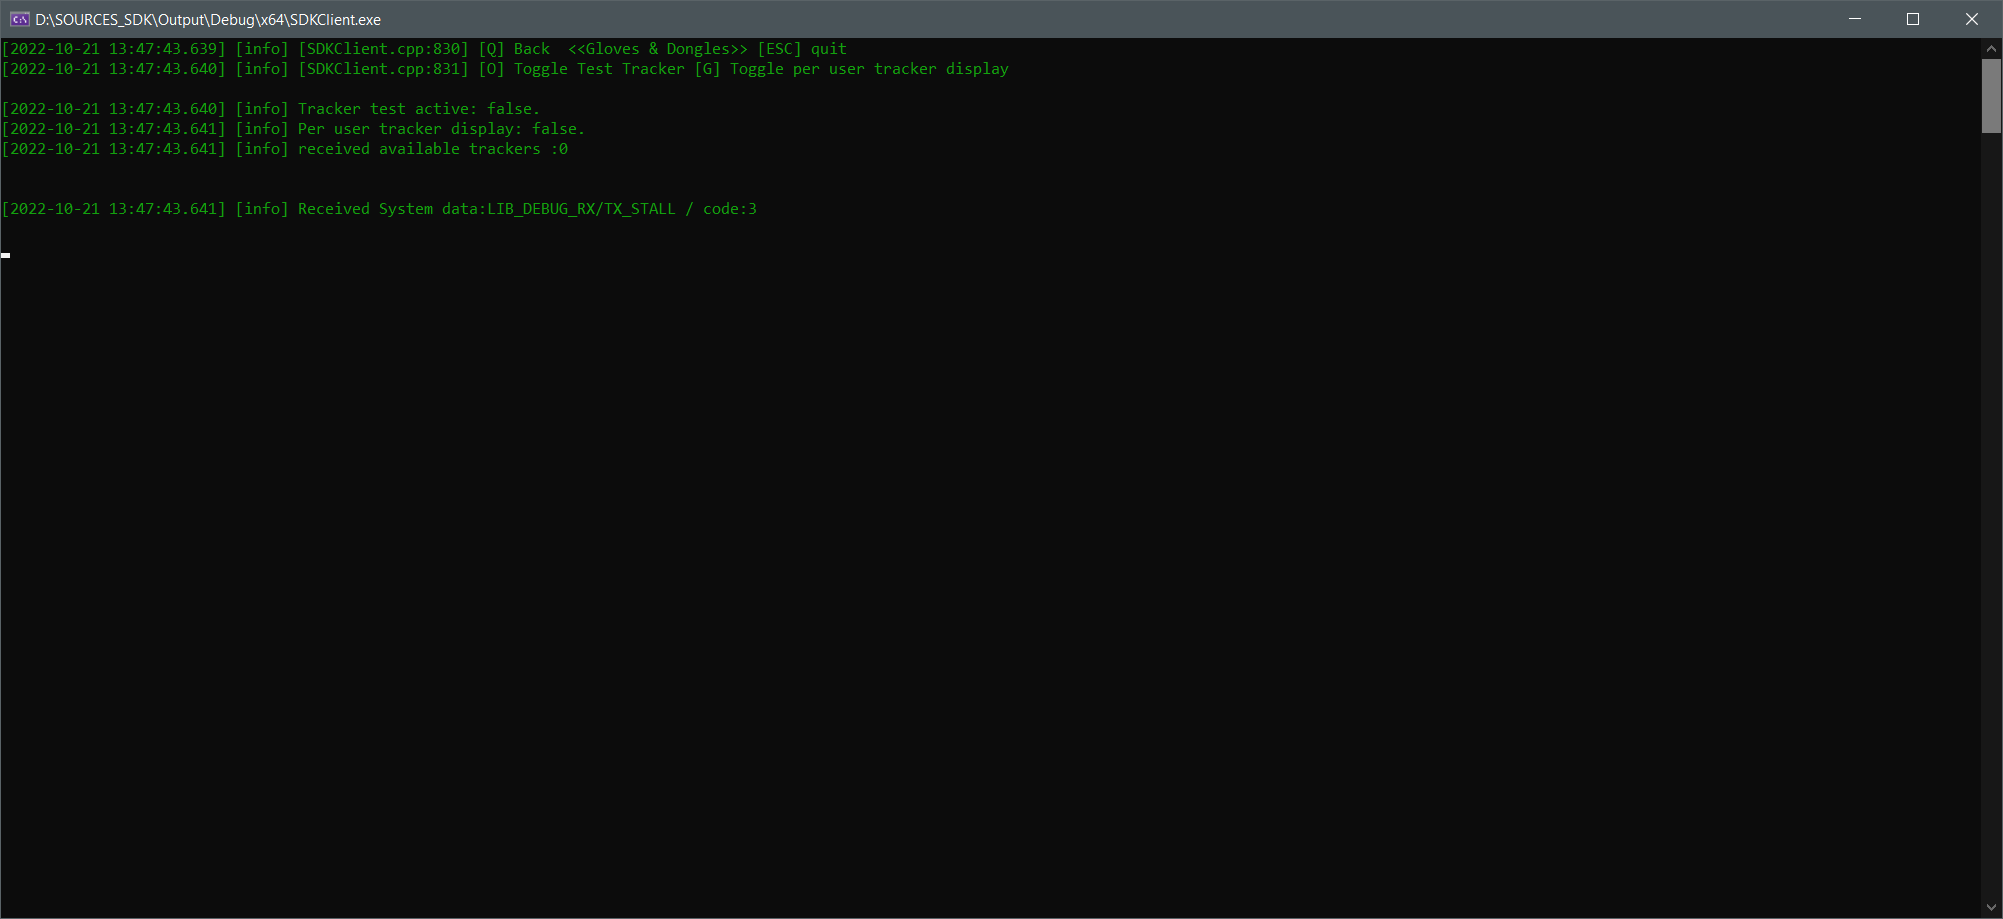
Showing trackers per user or globally.
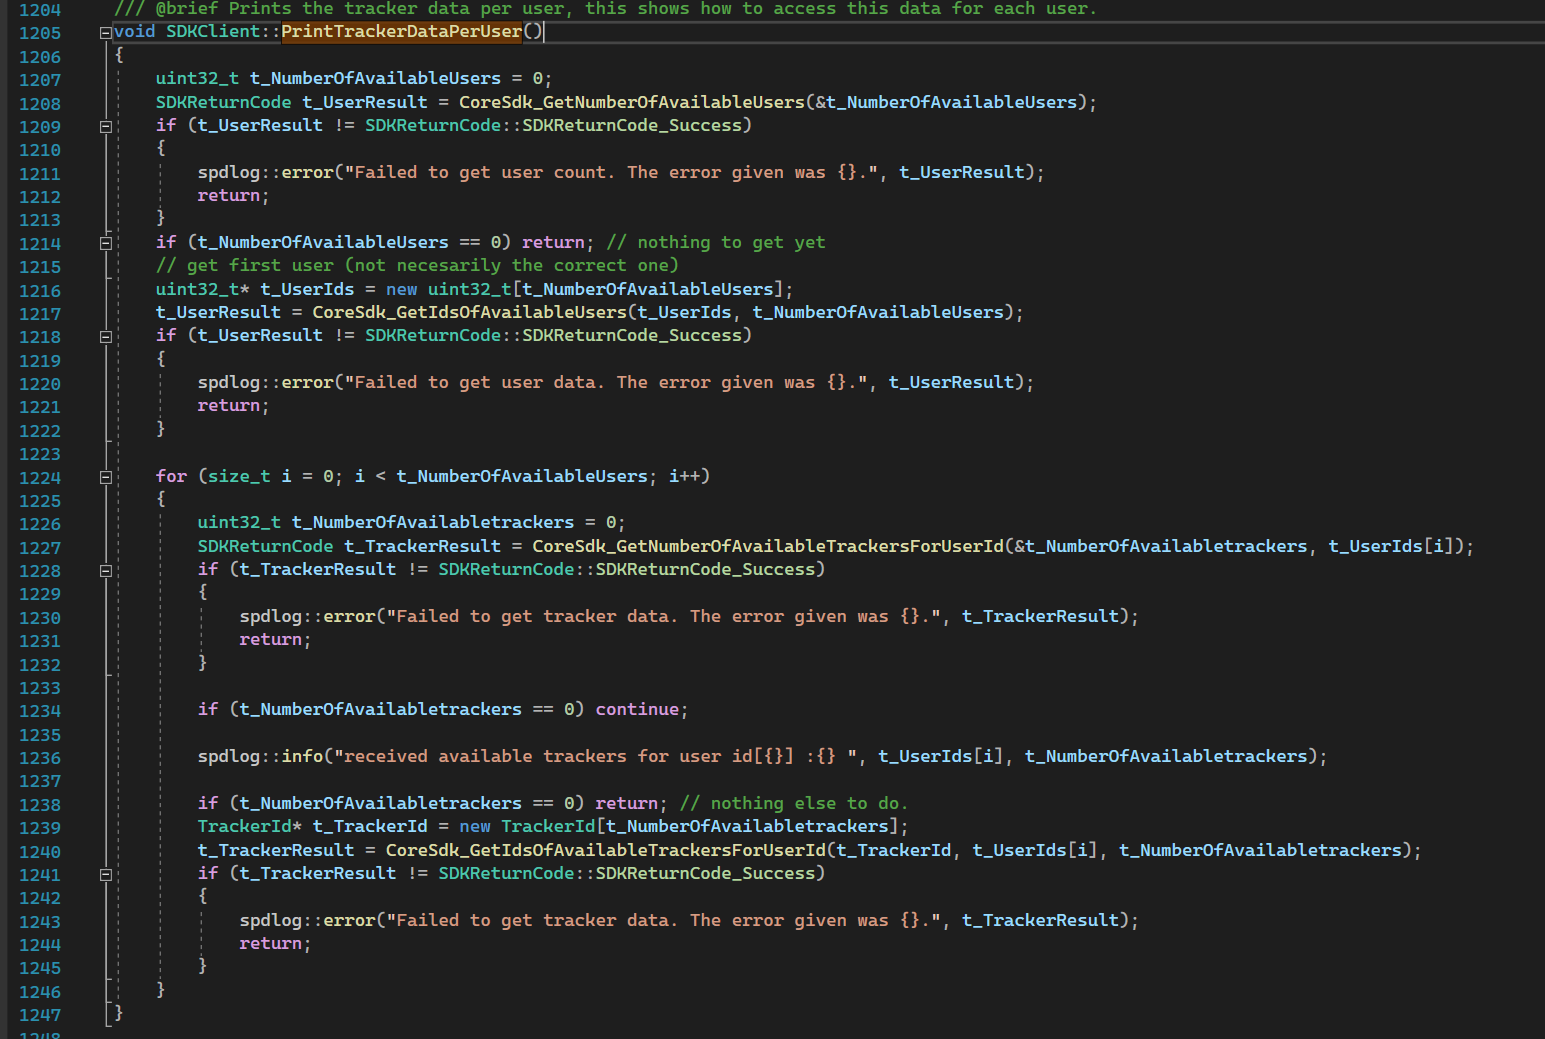
In this code example all users are first gathered and then the tracker ids per user are counted and displayed.
For normal body tracking the trackers are usually assigned to a user. Unassigned trackers will need to be found with the global function CoreSdk_GetNumberOfAvailableTrackers() and CoreSdk_GetIdsOfAvailableTrackers().
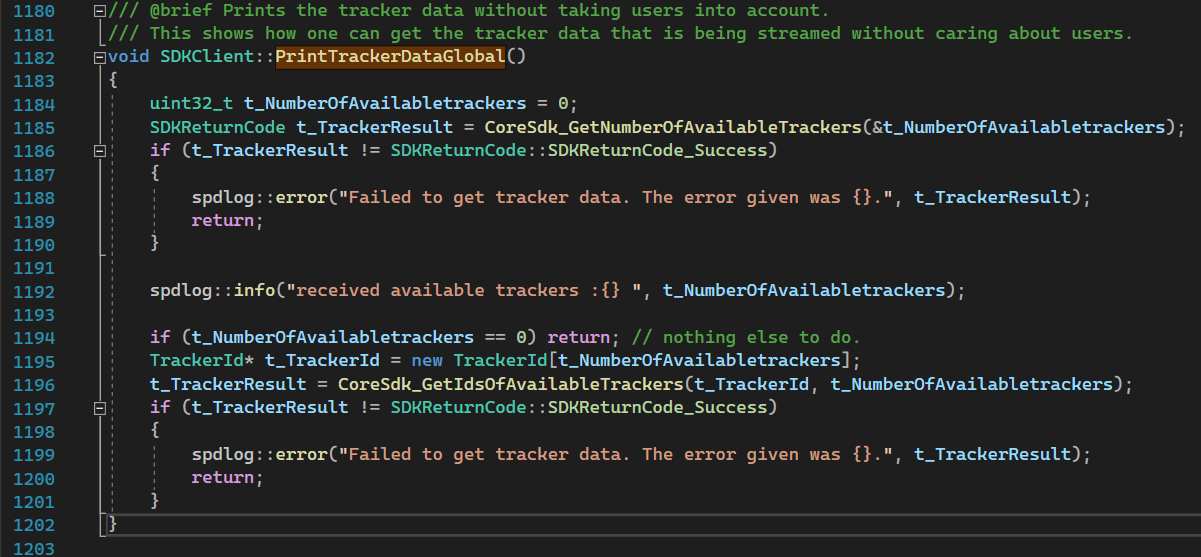
No actual tracker data or meta data is being shown here, but it can be retrieved with CoreSdk_GetDataForTracker_UsingTrackerId().Using the meta data, you can determine if its an unassigned tracker or not, incase you want to use a tracker for something else then body tracking.
Adding and removing test trackers

In this code example a simple “TestTracker” is setup and passed into MANUS core via an array of trackers in CoreSdk_SendDataForTrackers().As a test, the position is slightly altered every update to show it moving and is visualized in the dashboard if it is also running. When you make your own trackers. do make sure every tracker has a unique ID and is trackable.
In this test only 1 is being sent, but it's advisable for synchronization to send all self made trackers in the same array at the same time.
If a tracker type is set, it can help with auto allocating trackers to a body.
Timecode
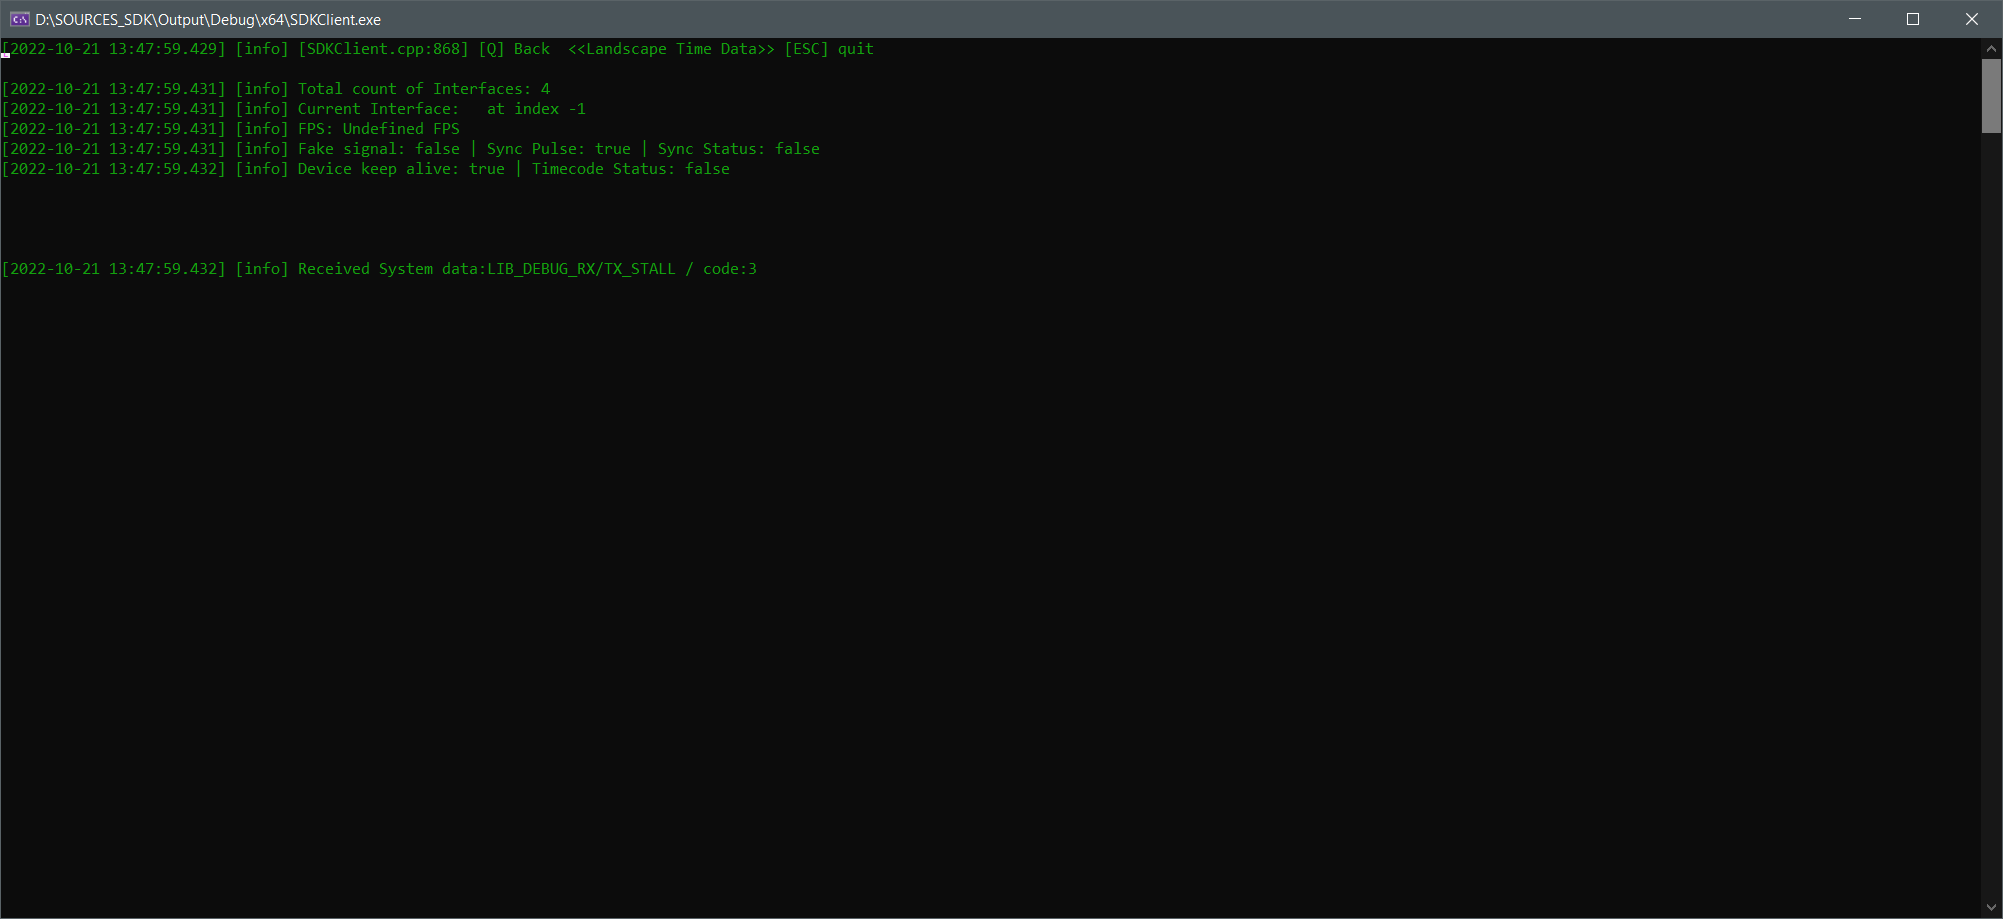
When using a timecode generator, you can configure this via the dashboard. However, you might still be interested in the timecode settings in your own client. For this you can use the functions in PrintLandscapeTimeData()

If a landscape Callback is registered, it will automatically receive this data.
Due to thread safety, this is copied during a mutex to a local copy of the data and eventually printed in the UI thread viaPrintLandscapeTimeData()
For more information on timecode, please consult your timecode device manual.